Thinking about making your home a bit smarter? It can feel a little confusing with all the different gadgets and apps out there. But what if there was one central spot to manage everything? That’s where the Home Assistant Green comes in. This little box is designed to be your main command center for all your smart devices, making it easier to control lights, thermostats, and more, all from one place. It’s a good starting point if you’re new to this whole smart home thing and want something that just works without too much fuss.
Key Takeaways
- The Home Assistant Green is a user-friendly hub for smart home control, especially good for beginners.
- It offers local control, meaning your data stays private and things work even if your internet is down.
- Setup is straightforward: just plug it in, connect to your network, and access the web interface.
- While it doesn’t have built-in Zigbee or Z-Wave, you can easily add these using USB adapters.
- It’s a cost-effective option compared to more complex or subscription-based smart home systems.
Getting Started With Home Assistant Green
So, you’ve got your hands on a Home Assistant Green, huh? It’s pretty neat, honestly. It’s designed to be the straightforward way to get into smart home stuff without a huge headache. Think of it as the friendly starting point for your automated house.
Unboxing and Initial Setup
When you open the box, you’ll find the Green unit itself, a power adapter, and an Ethernet cable. That’s pretty much it. No confusing bits or bobs. The device comes with Home Assistant OS already installed, so you don’t have to mess around with flashing SD cards like you might with a Raspberry Pi. It’s basically plug-and-play.
Connecting to Your Network
Getting it online is simple. First, plug the power adapter into the Green and then into a wall outlet. Next, grab that Ethernet cable and connect one end to your router and the other to the Ethernet port on the back of the Home Assistant Green. This wired connection is the recommended way to get it set up initially for stability. If you plan on using Zigbee, Z-Wave, or Matter devices right away, you can plug in those USB dongles now too, but you can always add them later.
Accessing the Web Interface
Once everything’s plugged in, give the Green a minute or two to boot up. Then, open a web browser on any computer or device connected to the same network. Type http://homeassistant.local:8123 into the address bar. If that doesn’t work for some reason, you might need to check your router’s list of connected devices to find the Green’s IP address and use that instead (like http://192.168.1.100:8123).
After that, you’ll be guided through creating your account, setting your location and time zone (which is important for things like sunrise/sunset automations), and deciding if you want to share anonymous usage data. And just like that, you’re in! You’ll see the main Home Assistant dashboard, ready for you to start adding your smart devices.
Understanding Home Assistant Green Hardware
Let’s take a peek under the hood of the Home Assistant Green. It’s not just a pretty translucent case; there’s some solid tech inside that makes it tick. This little box is designed to be a capable and quiet smart home brain.
Processor and Memory Specifications
At its core, the Home Assistant Green is powered by a Rockchip RK3566 quad-core processor. This chip runs at a speed of 1.8 GHz, which is plenty of power for most smart home tasks. You won’t be waiting around for automations to kick in. It also comes with 4 GB of RAM, giving it enough breathing room to handle multiple processes without getting bogged down. For storing your Home Assistant setup and data, there’s 32 GB of eMMC storage built-in. This is a good amount to get you started, and for those who plan on keeping a lot of historical data, there’s always the option to expand storage later.
Connectivity Ports Explained
The back of the Home Assistant Green has a few key ports that you’ll use to get it set up and expand its capabilities:
- Power Input: This is where you’ll plug in the included 12V DC power adapter. Simple enough.
- Ethernet Port: A Gigabit Ethernet port is included for a stable, wired connection to your home network. This is generally the best way to ensure reliable communication for your hub.
- USB 2.0 Ports (x2): These are your expansion ports. You can use them to plug in USB dongles for protocols like Zigbee, Z-Wave, or Matter. They can also be used for external storage, like a USB drive or an SSD, if you need more space than the internal eMMC provides. Keep in mind that these are USB 2.0, so they won’t be as fast as USB 3.0, but for smart home dongles, they work just fine.
- Reset Button: Tucked away, this button is for troubleshooting or performing a factory reset if things go really sideways. Hopefully, you won’t need to use it often.
Silent and Compact Design
One of the first things you’ll notice about the Home Assistant Green is its size. It’s quite compact, measuring just 112 mm (about 4.4 inches) in length. This means it won’t take up much space on a shelf or in your entertainment center. Another great feature is that it’s completely silent. There are no fans or moving parts inside, so it won’t add any extra noise to your home. The bottom of the unit is made from anodized aluminum, which helps dissipate heat, keeping the device cool and running smoothly even under load. It’s a well-thought-out design that prioritizes both function and form, making it easy to integrate into your living space. You can find more details about the Home Assistant Green on its product page.
Key Advantages of Home Assistant Green
So, why pick the Home Assistant Green over other options? Well, it really boils down to a few big things that make it a solid choice, especially if you’re just getting into smart home stuff or if you’re tired of cloud-dependent gadgets.
Effortless Setup for Beginners
Forget spending hours tinkering with Raspberry Pis or complicated software. The Home Assistant Green comes with Home Assistant OS already installed. This means it’s pretty much a plug-and-play experience. You just connect it to power and your network with an Ethernet cable, and you’re off to the races. It’s designed to get you up and running quickly without needing a degree in computer science. Seriously, it’s way simpler than trying to assemble IKEA furniture.
Local Control and Enhanced Privacy
This is a big one for a lot of people. Unlike many smart home systems that send all your data off to some company’s servers in the cloud, the Home Assistant Green keeps things local. Your commands and data stay within your home network. This not only makes it faster because it doesn’t have to go out to the internet and back, but it also means your privacy is much better protected. Even if your internet connection goes down, your automations and local control should still work. It’s nice knowing your smart home isn’t dependent on a constant internet connection or a company’s server staying online.
Broad Device Compatibility
Home Assistant is known for playing nice with a huge number of devices, and the Green is no exception. While it doesn’t have built-in radios for things like Zigbee or Z-Wave, you can easily add support for them using USB dongles. This means you can connect devices from tons of different brands – lights, sensors, switches, you name it. It supports Wi-Fi devices natively, and with a little adapter, you can bring in Zigbee, Z-Wave, and even Matter devices. This flexibility means you’re not locked into one ecosystem and can mix and match devices to your heart’s content.
Expanding Your Home Assistant Green
So, you’ve got your Home Assistant Green humming along, and you’re thinking, ‘What’s next?’ This little box is pretty capable right out of the gate, but it’s designed to grow with your smart home. Let’s talk about how you can add more smarts and capabilities to your setup.
Adding Zigbee, Z-Wave, and Matter Support
The Home Assistant Green doesn’t come with built-in radios for Zigbee, Z-Wave, or Thread. That might sound like a limitation, but it’s actually a smart design choice. It keeps the core unit affordable and lets you add support for these communication protocols as you need them. The easiest way to do this is by using USB dongles. You’ve got a couple of USB 2.0 ports on the back, perfect for plugging these in.
- Zigbee and Thread: The Home Assistant SkyConnect is a popular choice. It’s a single USB stick that can handle both Zigbee and Thread (which is what Matter uses). It’s designed to work well with Home Assistant.
- Z-Wave: For Z-Wave devices, you’ll need a separate Z-Wave USB stick. There are many options available from different brands.
- Matter: While the SkyConnect supports Thread, which is key for Matter, full Matter support is often managed through software updates and integrations within Home Assistant itself.
Using both USB ports might mean you have to choose between adding storage and adding a new communication protocol, so plan accordingly.
Utilizing USB Ports for Storage
While the 32GB of eMMC storage on the Green is decent for getting started, power users might want more space, especially if you plan on storing lots of historical data or running add-ons that require significant storage. You can connect an external USB drive (like a small SSD or a USB stick) to one of the USB ports. This is a pretty straightforward process within Home Assistant’s settings. It’s a good idea to use an SSD for better performance and longevity compared to a standard USB flash drive, especially for frequent read/write operations.
Understanding Expandability Limitations
It’s important to be realistic about what the Home Assistant Green can do. It’s a fantastic entry-level device, but it’s not designed to be a powerhouse with unlimited expansion. The main limitation is those two USB 2.0 ports. If you want to add a Zigbee dongle, a Z-Wave dongle, and an external SSD, you’re already out of ports. You’ll have to decide which is most important to you. For more demanding setups with many USB devices or a need for more processing power, you might eventually look at something like the Home Assistant Yellow, which offers more flexibility.
Home Assistant Green vs. Other Options
When you’re looking at smart home hubs, it’s easy to get a bit overwhelmed. Home Assistant Green is definitely a popular choice, especially for folks just dipping their toes into home automation. But how does it stack up against other options, like its bigger sibling, Home Assistant Yellow?
Comparing with Home Assistant Yellow
The main difference between the Green and the Yellow is power and expandability. Think of the Yellow as the enthusiast’s choice, built around a more powerful, upgradeable Raspberry Pi Compute Module 4. It’s designed for those who might be running really complex automations, maybe doing some AI processing, or managing huge amounts of data. The Green, on the other hand, uses a Rockchip RK3566 processor. It’s plenty capable for most everyday smart home tasks, and honestly, for a lot of people, it’s more than enough. I’ve been using mine for over a year with some pretty involved setups, and it hasn’t skipped a beat. The Yellow is also a bit more expensive and was harder to get due to component shortages, making the Green a more accessible option.
Home Assistant Green as an Entry Point
This is where the Green really shines. It’s designed to be super easy to get started with. Unlike building your own system from scratch on a Raspberry Pi, the Green comes with Home Assistant OS already installed. You just plug it in, connect it to your network, and you’re pretty much good to go. It’s a "plug-and-play" experience that takes a lot of the guesswork out. If you’re new to Home Assistant, this is probably the smoothest way to jump in. You can add Zigbee, Z-Wave, or Matter support using USB adapters like the SkyConnect, which is a nice way to grow your system without needing a whole new hub.
Affordability and Value Proposition
Let’s talk price. The Home Assistant Green comes in at a much lower price point than the Yellow, making it a really attractive option for budget-conscious users. You get a lot of bang for your buck here. It’s a dedicated hub that runs everything locally, which is a big win for privacy and reliability – your automations keep working even if your internet connection decides to take a break. Plus, there are no subscription fees, which you often see with other smart home platforms. For the price, you’re getting a solid, reliable, and private smart home controller. It’s a great way to get started without breaking the bank, and it’s powerful enough that many users, like myself, find they don’t need to upgrade for a long time. You can find out more about its specifications on the official product page.
Leveraging Home Assistant Green for Automation
So, you’ve got your Home Assistant Green all set up and humming along. Now what? This is where the real fun begins – making your home actually smart. It’s not just about turning lights on with your phone anymore; it’s about creating routines that make life easier, save energy, and just generally feel pretty cool.
Creating Custom Automations
This is the heart of Home Assistant. Forget pre-programmed scenarios; you get to build your own. Think about what annoys you or what you wish your house would just do on its own. Maybe you want the hallway lights to gently fade on when you get up in the morning, but only if it’s still dark outside. Or perhaps you want your smart plugs to turn off all non-essential devices when you leave the house. It sounds complicated, but Home Assistant makes it surprisingly manageable. You can set up triggers (like a motion sensor detecting movement, or a specific time of day), conditions (like ‘only if the sun has set’), and actions (like ‘turn on the living room lamp’). The possibilities really are vast, limited mostly by your imagination and the devices you have connected.
Energy Monitoring Capabilities
One of the most practical uses for Home Assistant Green is keeping an eye on your energy consumption. It’s pretty neat to see exactly where your electricity is going. The built-in energy dashboard can pull data from compatible smart plugs and dedicated energy monitoring devices. You can track usage per device, per room, or even your whole house. This isn’t just for curiosity; seeing those numbers can really motivate you to make changes. For instance, you might notice your old TV is a power hog even when it’s off, prompting you to use a smart plug to cut its standby power. It can even help estimate your monthly costs, giving you a heads-up before that electricity bill arrives.
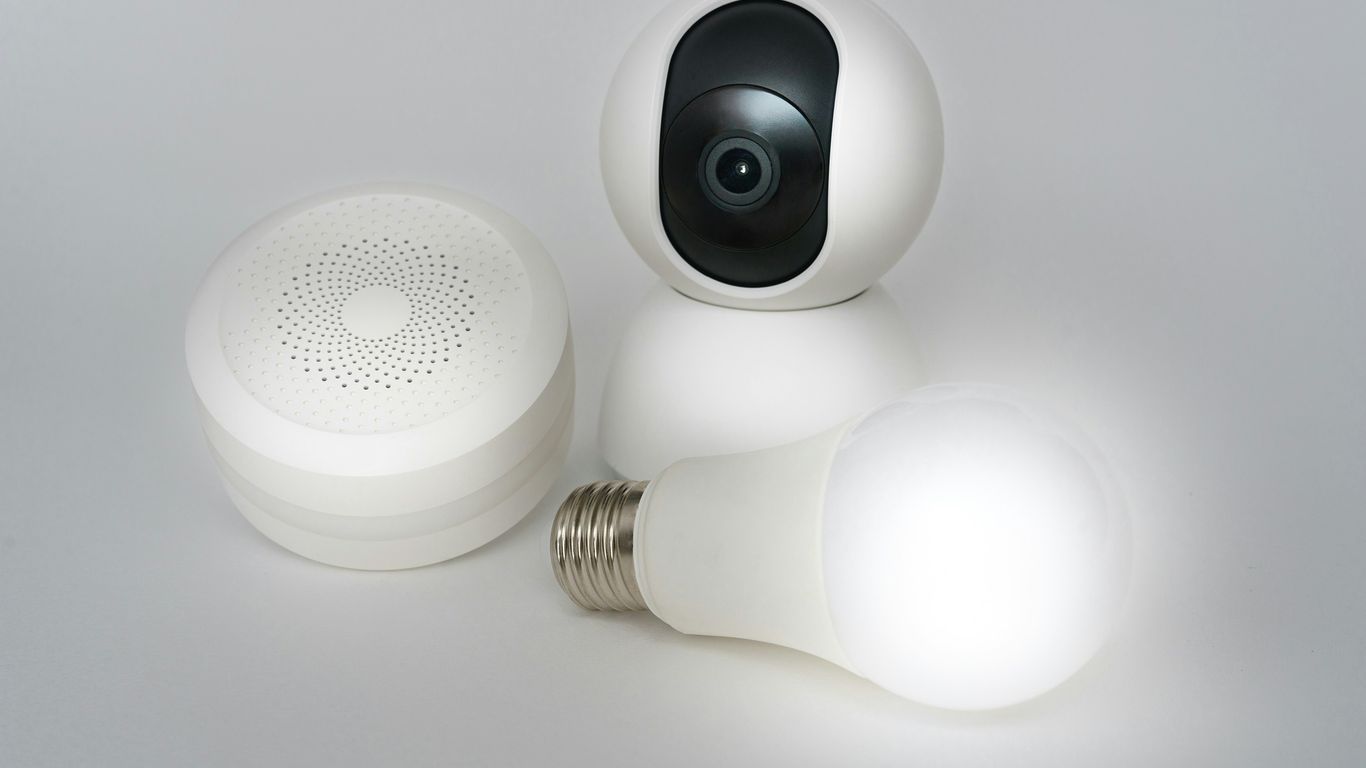
Recommended First Smart Devices
If you’re just starting out and wondering what to connect first, here are a few ideas that play nicely with Home Assistant Green:
- Smart Plugs: These are super versatile. You can control lamps, fans, coffee makers, or anything you plug into them. Look for ones that are known to work well with Home Assistant, like those from TP-Link (Tapo series) or Shelly. They’re great for basic on/off control and can often report energy usage.
- Smart Lighting: Philips Hue bulbs and accessories are a popular choice. You can control brightness, color, and set schedules. They integrate easily, and you can create some really nice ambiance with them.
- Sensors: Motion sensors, door/window sensors, and temperature sensors are the eyes and ears of your smart home. They can trigger automations. For example, a door sensor can turn on a light when the front door opens, or a motion sensor can detect if a room is occupied to adjust heating or lighting.
Wrapping It Up
So, after spending some time with the Home Assistant Green, it’s clear this little box is a solid choice for anyone looking to get into smart home automation without a huge fuss. It’s not the most powerful thing out there, sure, and you might need a couple of extra bits like a USB stick if you want to use Zigbee or Z-Wave. But for most people just starting out, or even those with a decent number of devices already, it just works. It’s quiet, doesn’t use much power, and keeps your data private. Honestly, it’s a great way to get your smart home humming along without breaking the bank or needing a degree in computer science. It’s been reliable for me, and I think it’ll be reliable for you too.
Frequently Asked Questions
What exactly is the Home Assistant Green?
Think of the Home Assistant Green as the brain for your smart home. It’s a small, quiet box that connects to your internet and helps all your different smart gadgets, like lights and thermostats, talk to each other. It lets you control everything from one place, making your home smarter and easier to manage.
Is it hard to set up the Home Assistant Green?
Not at all! The Home Assistant Green is designed to be super easy for beginners. It comes with everything you need – just plug it into power and your internet. The setup process guides you through everything on your phone or computer, so you’ll be up and running quickly without needing to be a tech expert.
Do I need extra parts to connect devices like smart lights or sensors?
The Home Assistant Green works with many devices right away. However, for some popular smart home technologies like Zigbee or Z-Wave, you might need to plug in a small USB adapter, like the SkyConnect. This is an extra step, but it greatly expands the number of devices you can connect.
Is my data safe with Home Assistant Green?
Yes, a big plus for Home Assistant is that it keeps most of your smart home information right in your home, not on company servers. This means better privacy and security. Even if your internet goes out, many of your smart home features will still work because they run locally on the Green.
How is the Home Assistant Green different from the Home Assistant Yellow?
The Home Assistant Yellow is a more powerful option, kind of like a souped-up version. The Green is simpler and more affordable, perfect for starting out. The Yellow has more advanced features and power that might be needed for very complex setups, but for most people, the Green is more than enough.
Can I control my home when I’m not there?
Absolutely! While the Home Assistant Green focuses on local control for privacy, you can also set it up to be controlled securely from anywhere using the Home Assistant app on your phone. This lets you check on things or make changes even when you’re away from home.