Introduction
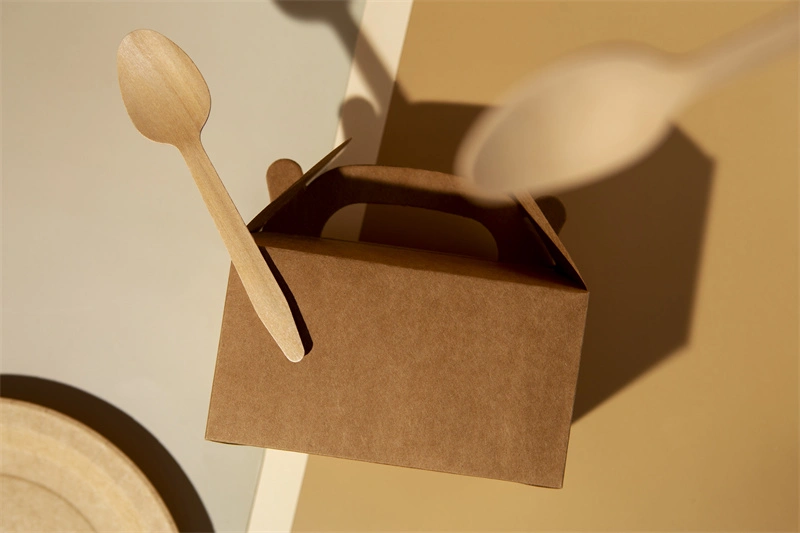
Gable boxes are versatile, charming, and functional packaging solutions that are perfect for gifts, party favors, and retail products. They feature a convenient handle and a unique shape that adds a touch of elegance to any presentation. Whether you’re using kraft gable boxes for a rustic look or custom gable boxes for a personalized touch, making your own gable boxes can be a fun and rewarding DIY project. In this guide, we’ll walk you through the steps to create your very own gable boxes.
Materials Needed
Basic Materials
- Kraft Paper or Cardstock: Choose a sturdy material that can hold its shape well. Kraft paper is ideal for a natural, rustic look.
- Scissors or Craft Knife: For cutting the paper to the right size.
- Ruler: To measure dimensions accurately.
- Pencil: For marking measurements.
- Glue or Double-Sided Tape: To assemble the box.
- Bone Folder or Scoring Tool: For crisp folds.
Optional Materials
- Decorative Paper or Stickers: For customization.
- Ribbon or Twine: For additional decoration or securing the box.
- Stamps or Stencils: For adding designs.
Step-by-Step Guide to Making a Gable Box
Step 1: Choose Your Template
Before you start cutting, find a gable box template that suits your needs. You can download free templates online or create your own. Ensure the template includes all necessary parts: the base, sides, and handle.
Step 2: Prepare Your Paper
Select your paper type—kraft paper for a natural look or decorated cardstock for a more vibrant appearance. Cut your paper to the size of the template, allowing extra space for tabs that will be glued.
Step 3: Trace and Cut the Template
Place the template on your paper and trace around it with a pencil. Carefully cut out the shape using scissors or a craft knife. Make sure to include the flaps and tabs, as these are essential for assembling the box.
Step 4: Score the Fold Lines
Use a ruler and a bone folder or scoring tool to score along the fold lines marked on the template. Scoring helps create crisp, clean folds and makes the assembly process easier.
Step 5: Fold Along the Score Lines
Carefully fold along all the scored lines. Make sure the folds are sharp and precise, as this will help the box hold its shape.
Step 6: Assemble the Box
Apply glue or double-sided tape to the tabs on the template. Start assembling the box by attaching the sides together, ensuring the edges align perfectly. Secure the bottom flaps last to create a stable base.
Step 7: Create the Handle
Most gable boxes feature a built-in handle. Fold the top sections together and secure them as per your template’s instructions. Some designs may require additional cuts or folds to form the handle properly.
Step 8: Customize Your Box
Now comes the fun part—customization! Use decorative paper, stickers, stamps, or stencils to personalize your gable box. You can also add ribbon or twine to enhance the look and functionality.
Custom Gable Boxes
Why Choose Custom Gable Boxes?
Custom gable boxes offer a unique opportunity to showcase your brand or personal style. They can be tailored to fit any occasion, from weddings and birthdays to corporate events and retail packaging.
Customization Options
- Printing: Add your logo, brand colors, or custom designs to the box.
- Materials: Choose from various paper types, including recycled kraft paper for an eco-friendly option.
- Sizes and Shapes: Customize the dimensions to fit your specific needs.
- Finishes: Opt for matte, glossy, or textured finishes to add a premium touch.
Benefits of Custom Gable Boxes
- Brand Recognition: Custom boxes with your logo and brand colors increase brand visibility.
- Unique Presentation: Stand out from the competition with a distinct packaging solution.
- Versatility: Perfect for a wide range of products and occasions.
Tips for Making Perfect Gable Boxes
Choose Quality Materials
Invest in high-quality paper or cardstock to ensure your gable boxes are durable and look professional.
Precision is Key
Take your time to measure, cut, and fold with precision. Small errors can affect the overall appearance and functionality of the box.
Experiment with Designs
Don’t be afraid to get creative with your designs. Experiment with different colors, patterns, and embellishments to make your boxes unique.
Practice Makes Perfect
If you’re new to making gable boxes, practice with plain paper first. Once you’re confident in your technique, move on to your chosen materials.
Conclusion
Creating your own gable boxes can be a rewarding and enjoyable project. Whether you’re using kraft gable boxes for a rustic look or custom gable boxes to promote your brand, the process is straightforward and allows for plenty of creativity. By following this step-by-step guide, you’ll be able to craft beautiful, functional gable boxes that are perfect for any occasion.