Are you looking to make your own kawaii keyboard? Have you been admiring all the amazing designs online and wishing you could create something just as beautiful? If so, you’re in luck! In this blog post, we’ll show you how to build your very own kawaii keyboard from scratch. With a few simple steps and a little bit of creativity, you can make a kawaii keyboard that will be the envy of all your friends!
Why you should build your own kawaii keyboard:
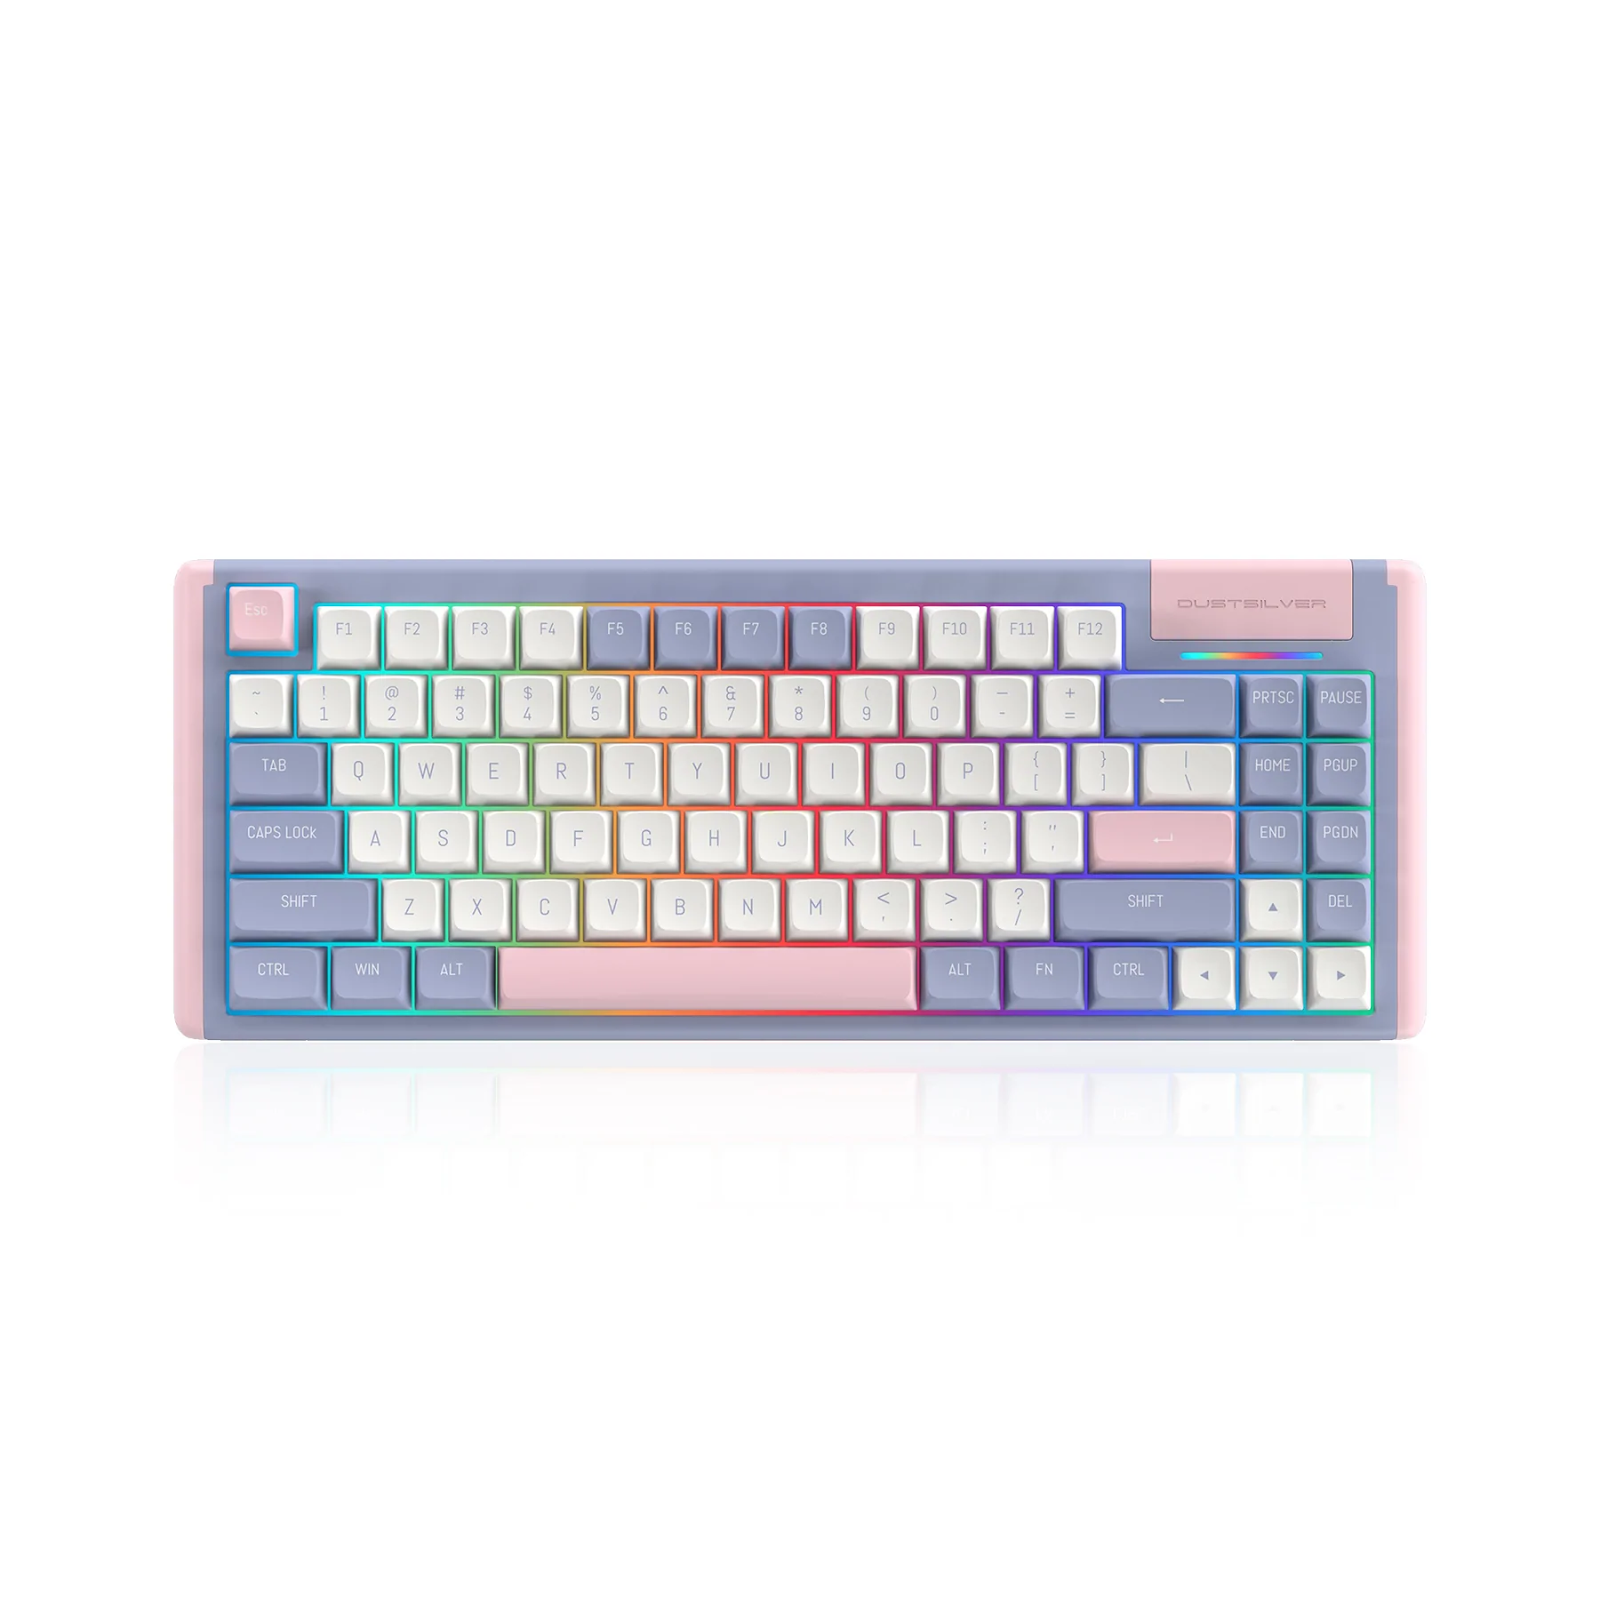
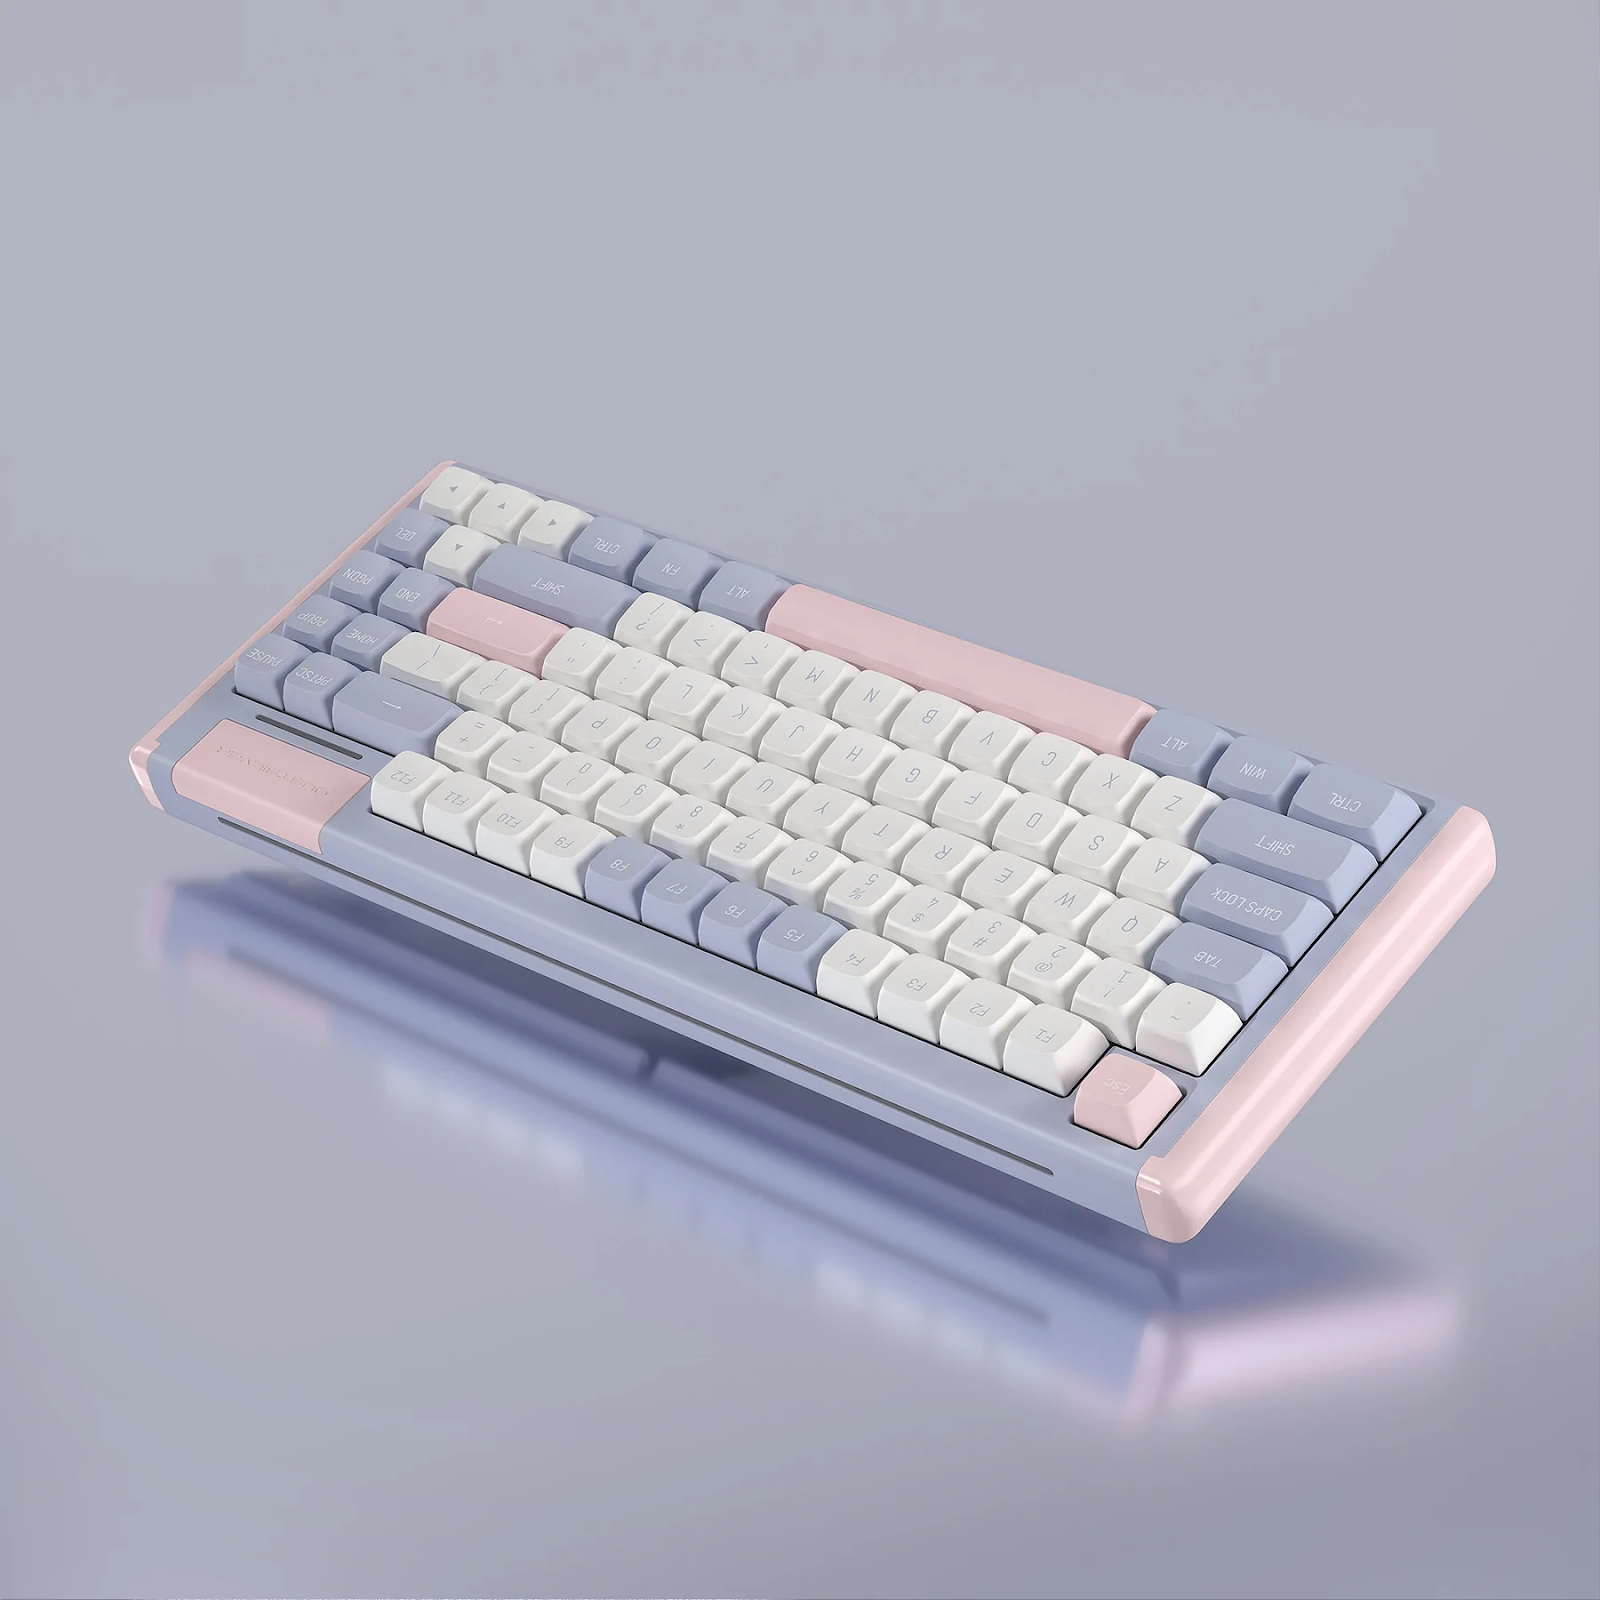
Kawaii keyboards are becoming increasingly popular with keyboard enthusiasts, offering a way to customize and personalize your typing experience. Not only are they aesthetically pleasing to look at, but they offer great tactile feedback, allowing for comfortable and precise typing. Building your own kawaii keyboard gives you the freedom to choose the exact parts and features you need for your desired typing experience. Whether you’re looking for a unique, one-of-a-kind design or a compact and lightweight build, the options are limitless when building your own kawaii keyboard. So if you’re looking for the perfect keyboard to complete your setup, consider building your own kawaii keyboard!
What you’ll need:
If you’re looking to build your own kawaii keyboard, the first step is to make sure you have all the necessary materials. You will need a keyboard base, keycaps, stabilizers, switches, and other accessories.
The keyboard base should be one that fits the size and shape of your hands comfortably. This can be either a full-size, tenkeyless, or even a sixty percent size board. You’ll also need to decide on which type of switch you’d like to use, as this can greatly affect the feel and sound of your keyboard. Popular choices include Cherry MX switches, Gateron switches, Kailh switches, and more.
Next, you’ll need to pick out keycaps for your keyboard. These come in a variety of shapes and sizes, so you should have no problem finding something that looks kawaii. Be sure to choose ones that match the keycap stem size of your chosen switches so they fit properly.
Stabilizers are an important part of a kawaii keyboard as they help reduce wobble when typing. If your keyboard has larger keys, such as space bars or enter keys, then you’ll need to get stabilizers that are specifically designed for them.
Finally, there are many other accessories you can add to your kawaii keyboard such as LEDs, custom keycaps, wrist rests, and more. Feel free to add whatever you think would look great on your keyboard!
With the right materials, you’re ready to begin building your own kawaii keyboard. Stay tuned for our next blog post which will cover the basics of how to build one.
The basics of building a kawaii keyboard:
Whether you are looking to upgrade your current keyboard or just want to create a one-of-a-kind keyboard with your own personalized design, building a kawaii keyboard is a great way to show off your creative flair. But before you start, there are some basic things you should know about how to build kawaii keyboards.
First, you’ll need to decide which type of switch you’ll use for the keyboard. There are several different types of switches on the market, including mechanical switches, scissor switches, and rubber dome switches. Each type offers a different feel and sound, so choose the one that best suits your needs and preferences.
Next, you’ll need to select a case for your keyboard. A case not only provides protection for the keyboard but can also add a decorative touch. You can choose from a variety of materials such as wood, plastic, or metal.
Once you have chosen your switches and case, it’s time to assemble the keyboard. Start by attaching the switches to the PCB, then solder the wires onto the switches. After soldering all of the switches in place, attach the keycaps to the switches. You can find keycaps in a variety of colors and shapes to match your design.
Finally, connect the keyboard to your computer and test out the keys. If all of the keys are working correctly, you can proceed with adding any finishing touches that you desire. And that’s it! Congratulations on building your own kawaii keyboard!
Adding the finishing touches:
When you have all the components of your kawaii keyboard assembled, you can start adding the decorative touches that will make it truly unique. You can find a wide selection of kawaii-themed stickers and accessories to customize your keyboard. Start by adding some cute character stickers or designs to the case, as well as some colorful keycaps.
You could also look into buying some switch films to make your keys sparkle, or use keycap sets with unique designs. You could even try out different switches if you want a different typing experience. Be sure to choose switches that are compatible with your keyboard.
If you’re feeling adventurous, you can also try to paint or dye your keyboard case. There are many tutorials online for how to dye a plastic keyboard, so you can make your keyboard look unique and custom.
By adding these finishing touches to your kawaii keyboard, you can create something that’s uniquely yours. Whether it’s bright and colorful, or subtle and elegant, you can make sure that your keyboard stands out. It’s a great way to show off your personality and express yourself through your keyboard. So don’t be afraid to try out different ideas and have fun with it!