If you’ve ever looked up and seen a neat line of bright dots moving across the sky, you’ve probably spotted the starlink satellite train. These trains of satellites pop up right after launch and climb to their final orbits, making for a cool show if you know when and where to look. In this guide, I’ll share how these satellite streaks work, how to track them in real time, tips for watching or photographing them, and what’s being done to keep our night sky clear.
Key Takeaways
- The starlink satellite train is a series of newly launched satellites rising in a straight line before they spread out.
- Free tracking apps let you plug in your location and get precise pass times for the train.
- Choose a dark, open spot and bring binoculars or a camera on a tripod for the best view.
- Simple camera settings—manual focus, low ISO, and long exposure—can capture smooth light trails.
- SpaceX’s VisorSat and dark-sky groups are working to cut glare and keep satellites from washing out the stars
Understanding The Starlink Satellite Train Phenomenon
Origins Of The Satellite Streaks
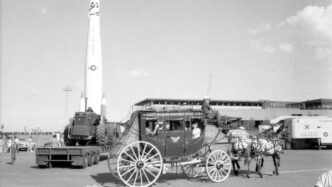
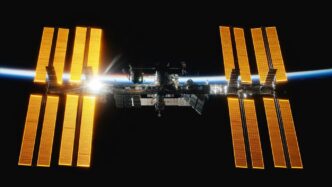
Ever looked up and seen a weird line of lights moving across the sky? Chances are, you’ve spotted the Starlink satellite train. These streaks are actually a bunch of satellites launched by SpaceX as part of their Starlink internet project. The goal is to provide global internet access, but the initial deployment creates this unique "train" effect. This happens because the satellites are released in a group and gradually spread out to their final orbits. They’re most visible shortly after launch, before they reach their designated positions. It’s a pretty cool sight, but it’s also sparked a lot of discussion in the astronomy community.
Mechanics Of Orbital Deployment
So, how does this whole satellite deployment thing work? SpaceX launches a bunch of these satellites – sometimes dozens at a time – using their Falcon 9 rockets. Once in orbit, the satellites begin a slow process of raising themselves to their operational altitude. This involves using onboard thrusters to gradually move into their final positions. The "train" effect is most noticeable during this phase, as they’re still relatively close together and at a lower altitude. It’s a carefully choreographed dance of orbital mechanics, and it’s pretty impressive to watch. It’s also worth noting that SpaceX is working on ways to minimize the visibility of these satellites, which we’ll get into later.
Variations In Train Appearance
The appearance of the Starlink satellite train can vary quite a bit depending on several factors. These include:
- Time of night: They’re usually most visible shortly after sunset or before sunrise, when the satellites are illuminated by the sun while the ground is dark.
- Orbital position: The angle at which you view the train affects its brightness and how closely spaced the satellites appear.
- Atmospheric conditions: Clear, dark skies are obviously ideal, but even slight haze or light pollution can impact visibility.
Sometimes the train is a bright, obvious line of lights. Other times, it might appear as a fainter, more diffuse stream. Also, the number of satellites visible in the satellite train can change as they spread out and some deorbit. Keep an eye out for these variations – it makes each sighting unique!
Tracking The Starlink Satellite Train In Real Time
Choosing The Right Tracking App
Okay, so you’re ready to spot some Starlink satellites! The good news is, you don’t need fancy equipment. Your smartphone is your best friend here. There are a bunch of apps out there designed to help you track satellites, but not all are created equal. Some are clunky, some are outdated, and some just don’t give you accurate info. I’ve tried a few, and here’s what I’ve found works:
- Heavens-Above: This one’s a classic. It’s free, it’s reliable, and it gives you a ton of detail. You can see when the satellites will be visible from your location, how bright they’ll be, and even a map of their path across the sky. It’s a solid choice for beginners and experienced stargazers alike. It’s important to have reliable orbital data to make the most of this app.
- Satellite Tracker: Another good option, especially if you want something simple and easy to use. It’s got a clean interface and focuses on the essentials: predicting when satellites will be visible. It also has augmented reality features, which can be fun. Point your phone at the sky, and it’ll show you where the satellites are supposed to be.
- Star Walk 2: This is more of a general stargazing app, but it includes satellite tracking as well. It’s got a beautiful interface and lots of information about constellations, planets, and other celestial objects. If you’re interested in learning more about the night sky in general, this is a great choice.
Synchronizing Time And Location
This might seem obvious, but it’s super important: make sure your phone’s time and location settings are accurate! Satellite tracking apps rely on this information to calculate when and where the satellites will be visible. If your time is off by even a few minutes, or your location is slightly wrong, you could miss the whole show. Most apps will prompt you to enable location services, but double-check that it’s actually turned on and that your phone is set to automatically update the time.
Here’s a quick checklist:
- Go to your phone’s settings.
- Check the date and time settings. Make sure "Set Automatically" is enabled.
- Check the location settings. Make sure location services are turned on for the tracking app you’re using.
- Restart the app to make sure it’s using the correct information.
Interpreting Orbital Data
Okay, this is where things can get a little technical, but don’t worry, it’s not rocket science (well, technically it is, but you don’t need to be a rocket scientist to understand it!). Tracking apps use something called "orbital elements" to predict the path of satellites. These elements describe the satellite’s orbit, including its altitude, inclination, and position. The apps do all the calculations for you, but it’s helpful to understand what the data means. You can use this data to monitor atmospheric pollution.
Here’s a simplified breakdown:
- Altitude: How high the satellite is above the Earth’s surface. Higher altitude means it will be visible for longer, but it will also be fainter.
- Inclination: The angle of the satellite’s orbit relative to the equator. This determines which parts of the Earth the satellite will pass over.
- Magnitude: This is a measure of how bright the satellite will appear. Lower numbers mean brighter. A magnitude of 0 is very bright, while a magnitude of 6 is barely visible to the naked eye. Keep in mind that magnitude predictions can be affected by atmospheric conditions and the reflective properties of the satellite.
Most apps will give you a table or chart showing the predicted visibility of the satellites. This will include the time the satellite will appear, its maximum altitude, and its magnitude. Use this information to plan your viewing session. For example, if the app says a satellite will be at its highest point at 10:00 PM and will have a magnitude of 3, you know to look for a moderately bright object passing overhead at that time.
Observing Tips For Amateur Stargazers
Selecting The Best Viewing Site
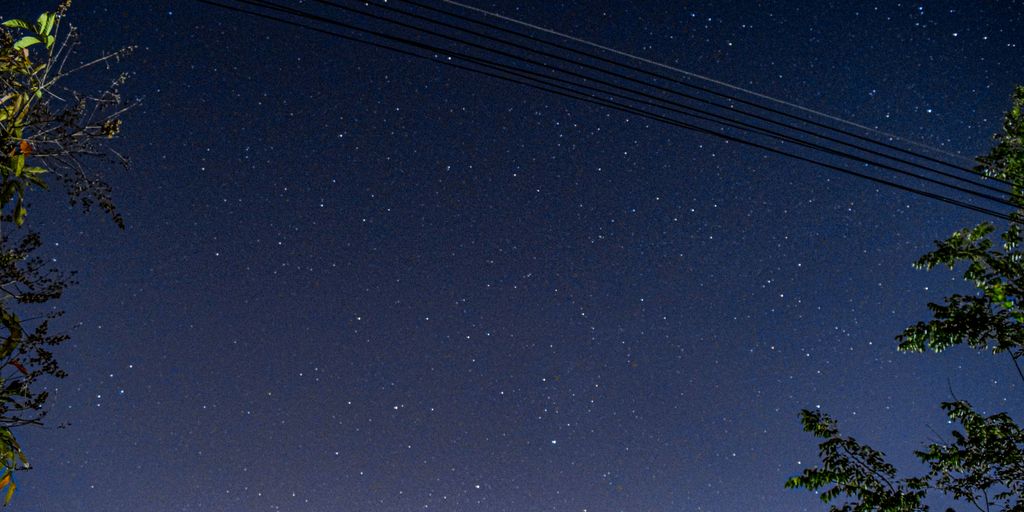
Okay, so you want to see these Starlink satellites, huh? First things first: location, location, location! You can’t just step out your back door in the middle of the city and expect to see much. Light pollution is your enemy. The darker the sky, the better your chances.
- Get away from city lights. Even a short drive can make a huge difference.
- Look for areas with open horizons. Trees and buildings will block your view.
- Consider using a light pollution map to find dark sky locations near you. There are many free resources online.
Optimizing Dark Sky Conditions
Alright, you’ve found a dark spot. Now what? The atmosphere itself can be a pain. You want the clearest, steadiest air possible. Here’s the lowdown:
- Check the weather forecast. Clear skies are a must, obviously.
- Avoid nights with a bright moon. Moonlight washes out fainter objects, including those pesky satellites.
- Let your eyes adjust to the darkness. This takes about 20-30 minutes. Resist the urge to look at your phone!
Engaging With Local Astronomy Groups
Don’t go it alone! Seriously, astronomy clubs are awesome. They’re full of people who love this stuff and are happy to share their knowledge. Plus, they often have access to equipment you can try out. It’s a great way to learn and make new friends. You can find local astronomy clubs by searching online or asking at a local science museum. They often host star parties where you can observe with others and learn from experienced stargazers. It’s a fun way to get involved and see some amazing things in the night sky. Plus, you might even get to try out some fancy telescopes!
Capturing Stunning Images Of The Starlink Satellite Train
Recommended Camera Settings
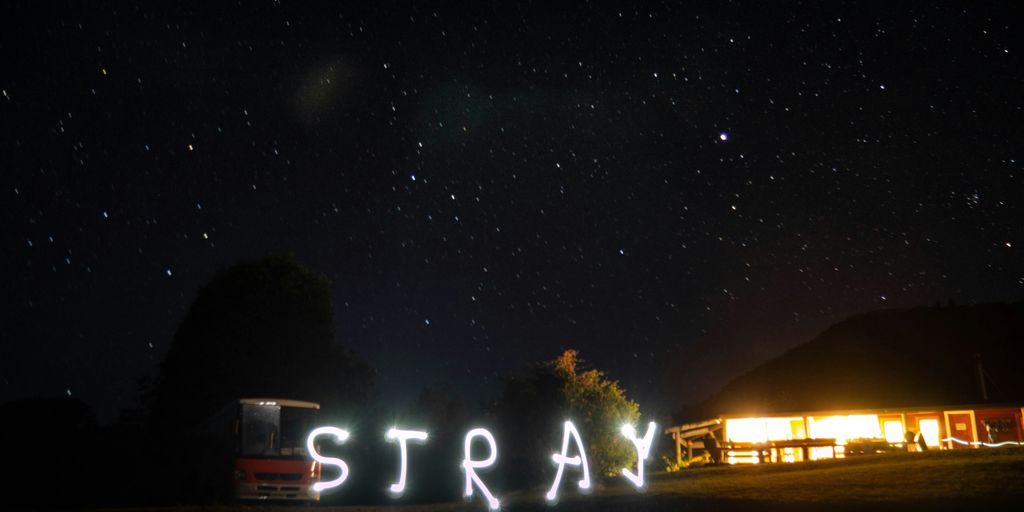
Okay, so you want to photograph the Starlink satellite train? Awesome! First things first, ditch the kit lens. You’ll want something faster, like a wide-angle lens with a low f-number (f/2.8 or lower is ideal) to gather as much light as possible. A sturdy tripod is non-negotiable; long exposures are your friend here. As for camera settings, start with these as a baseline and adjust based on your specific conditions:
- ISO: Start around 800-1600, but don’t be afraid to push it higher if needed. Watch out for noise, though!
- Aperture: As wide as your lens allows (e.g., f/2.8, f/1.8). This lets in maximum light.
- Shutter Speed: Experiment! Start with 5-10 seconds and adjust based on how bright the satellites appear. Longer exposures will create longer light trails, but too long, and you’ll get star trails too. You can use 360-degree cameras to capture the whole sky.
- Focus: Manual focus is your best bet. Use live view and zoom in on a bright star to get it perfectly sharp. Then, lock your focus.
Framing Techniques For Nightscapes
Composition is key! Don’t just point your camera at the sky. Think about what else you can include in the frame to make the image more interesting. A silhouetted tree line, a mountain range, or even a cool-looking building can add depth and context. Try these:
- Rule of Thirds: Place your horizon line or a key element (like a bright star) along one of the rule-of-thirds lines.
- Leading Lines: Use a road, river, or other natural feature to draw the viewer’s eye into the scene.
- Foreground Interest: Find something interesting to put in the foreground to create a sense of depth. A cool rock formation, a lone tree, or even a person can work well.
- Consider the Orientation: Decide if a horizontal or vertical composition works best for your scene. Horizontal is great for wide landscapes, while vertical can emphasize height and create a more dramatic feel. Remember that Scorpius constellation is best viewed in July.
Editing Workflow For Light Trails
Okay, you’ve got your images. Now it’s time to make them shine! Here’s a basic editing workflow using software like Adobe Lightroom or similar:
- White Balance: Adjust the white balance to get the colors looking natural. Usually, a slightly cooler white balance (around 3500-4000K) works well for nightscapes.
- Exposure: Fine-tune the exposure to brighten or darken the image as needed. Be careful not to overexpose the highlights.
- Contrast: Add a bit of contrast to make the image pop. But don’t overdo it, or you’ll lose detail in the shadows.
- Highlights and Shadows: Adjust the highlights and shadows to recover detail in the brightest and darkest areas of the image. Pulling down the highlights can help reduce light pollution, while lifting the shadows can reveal more detail in the foreground.
- Noise Reduction: Apply noise reduction to minimize any noise introduced by the high ISO. Be careful not to over-smooth the image, or you’ll lose detail.
- Sharpening: Add a touch of sharpening to bring out the details. Use a sharpening mask to avoid sharpening the noise in the sky.
- Color Adjustments: Make any final color adjustments to enhance the overall look of the image. You might want to boost the saturation of the stars or adjust the hue of the sky. You can also use satellite intelligence to find the best locations for viewing.
Minimizing Astronomical Interference
Satellite constellations are cool, but they can also mess with astronomy. It’s a balancing act between providing internet access and preserving our view of the night sky. Luckily, there are efforts underway to reduce the impact of these satellites.
VisorSat Design And Its Benefits
One of the first steps taken to reduce interference was the development of VisorSat technology. VisorSats are designed with a deployable sunshade that reduces the amount of sunlight reflected by the satellite. This makes them less visible from Earth, especially during dawn and dusk when they’re most noticeable. It’s not a perfect solution, but it’s a start. The goal is to make these satellites less disruptive to astronomical observations. It’s a bit like putting sunglasses on a satellite!
Collaborating With Astronomers
Another key aspect is collaboration between satellite companies and astronomers. By working together, they can find ways to minimize the impact of satellite constellations. This might involve:
- Sharing orbital data so astronomers can predict when satellites will pass through their field of view.
- Adjusting satellite orbits to avoid sensitive astronomical observations.
- Developing new technologies to further reduce satellite brightness. This collaboration is super important for satellite positioning systems to work well.
Advocating For Dark Sky Preservation
Ultimately, preserving dark skies requires advocacy and awareness. This includes:
- Supporting local dark sky initiatives to reduce light pollution.
- Educating the public about the impact of light pollution on astronomy and the environment.
- Encouraging responsible satellite deployment practices. It’s about making sure future generations can still enjoy the beauty of the night sky. Radio interference from things like Wi-Fi and Starlink can also be a problem, so we need to think about that too.
The Future Of Satellite Constellations And Stargazing
Next-Generation Megaconstellations
Okay, so things are getting really busy up there. We’re not just talking about a few extra satellites; we’re talking about next-generation megaconstellations that could seriously change how we see the night sky. Companies are planning to launch thousands more satellites, and while this could mean better internet access for everyone, it also means more light pollution and potential interference with astronomical observations. It’s a bit of a trade-off, and we need to figure out how to balance the benefits with the impact on stargazing. For example, Starlink satellites are already providing internet to remote areas, but their brightness has raised concerns among astronomers.
Policy Developments For Space Traffic
With all these satellites going up, space is getting crowded, like, really crowded. Think of it like rush hour on the freeway, but in orbit. That’s why policy developments for space traffic are becoming super important. We need rules of the road to prevent collisions and manage orbital debris. The FAA reported a new record of 21 commercial space launches in June 2025, so it’s clear that space traffic management is more important than ever. It’s not just about avoiding crashes; it’s also about making sure everyone has fair access to space and that we’re not creating a giant junkyard up there. The FCC is starting to enforce rules on space garbage, which is a step in the right direction.
Innovations In Low-Impact Sat Design
So, what can be done to make these satellites less of a nuisance for stargazers? Well, there are some pretty cool innovations in low-impact sat design happening. One idea is to make satellites darker so they don’t reflect as much sunlight. SpaceX’s VisorSat program, which uses a visor to shade the antennas, is one example. Another approach is to design satellites that are smaller and less reflective. The goal is to minimize their impact on the night sky while still providing the services they’re intended for. It’s all about finding creative solutions that allow us to have both advanced technology and dark skies. The MTG-S satellite aims to enhance thunderstorm prediction capabilities, showing how satellites can benefit us without ruining the night sky.
## Conclusion
I still get a buzz the first time I saw those little lights glide across the sky. Now you know how to spot the Starlink train and what times are best for a view. No fancy gear needed—just your eyes or a pair of binoculars. Check a star chart app or even a simple weather site before you head out. Don’t fret if clouds roll in; try again a night or two later. Those lines of light are satellites doing their job, not some alien show. So grab a seat in your backyard or on the hood of your car, look up, and enjoy the show.
Frequently Asked Questions
What is the Starlink satellite train?
The Starlink train is a row of SpaceX satellites flying close together just after launch. They look like a bright, moving line of dots in the night sky.
How can I spot the satellite train?
You need a clear, dark sky and the right time. Use a phone or computer app to find when the train will pass above your town. Then step outside and watch for a slow, straight line of lights.
Why do they look like a chain of lights?
After launch, the satellites are close together on the same path. Sunlight reflects off them the same way, so they glow in a straight row, like train cars on a track.
When is the best time to watch them?
Look just after sunset or just before sunrise. The ground is in shadow but the satellites are still in sunlight. That contrast makes them easier to see.
Will Starlink trains mess up my stargazing?
They can get in the way if you’re looking at faint objects. But they move fast and only last a few minutes. Planning your viewing session around their pass can help.
Can I take photos of the train?
Yes! Use a camera on a tripod with manual settings. Try a wide-angle lens, set a long exposure (5–20 seconds), and track the sky’s motion. You’ll capture bright streaks where the satellites passed.