
So, you’re curious about how Laminated Object Manufacturing, or LOM, actually works? It’s a pretty straightforward method for making prototypes. Basically, you’re layering up sheets of material, sticking them together, and then cutting them into shape. It’s not the most complex 3D printing technology out there, but it has its own place, especially when you need something fast and don’t want to spend a fortune. We’ll break down the laminated object manufacturing working principle, what makes it tick, and where it fits in the world of making things.
Key Takeaways
- LOM builds objects by stacking and cutting layers of sheet material, like paper or plastic, which are bonded together.
- The process involves preparing material sheets, applying adhesive, bonding layers, and then selectively cutting each layer’s outline.
- Key parts of a LOM system include material feeders, rollers for bonding, and a cutting mechanism, typically a laser or knife.
- LOM is known for being fast and cost-effective, especially for creating visual prototypes and models, though it has limitations with complex shapes.
- While it’s great for simple prototypes and visual aids, LOM struggles with intricate details, undercuts, and producing very thin or hollow parts.
Understanding Laminated Object Manufacturing
Core Concept of LOM
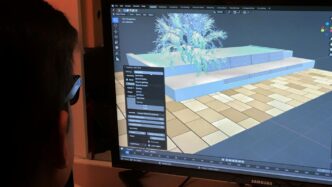
Laminated Object Manufacturing, or LOM as it’s often called, is a pretty straightforward way to build 3D objects. Think of it like making a sandwich, but instead of bread and fillings, you’re using layers of material like paper, plastic, or even thin metal sheets. The basic idea is to take a sheet of material, stick it down to the layer below, and then cut out the shape of that specific layer. This process repeats, stacking up these cut layers one on top of the other, until the whole object is formed. It’s essentially building a 3D shape by stacking and cutting 2D slices. This method was first introduced back in the early 1990s and quickly found its place in the world of rapid prototyping because it was a fast and relatively inexpensive way to get physical models.
Historical Context and Evolution
LOM really got its start with a company called Helisys in 1991. They were one of the first to really push this technology, and it became a go-to for making quick prototypes. Over time, the technology evolved, and other companies, like Cubic Technologies, took over and continued to develop it. While it might not be as common as some of the newer 3D printing methods today, LOM played a significant role in making rapid prototyping more accessible. It allowed designers and engineers to create physical models of their ideas without breaking the bank or waiting weeks for them.
LOM’s Niche in Rapid Prototyping
So, where does LOM fit in the big picture of making prototypes quickly? Well, it carved out a specific niche for itself. It’s particularly good at creating visual models and prototypes that don’t need to withstand extreme stress or have super intricate internal details. Because it uses sheet materials and a cutting process, it’s often faster and cheaper than other methods for certain types of parts. It’s also quite office-friendly – not too noisy or messy, which is a bonus. However, it does have its limits, especially when it comes to complex shapes with lots of overhangs or very thin walls, which we’ll get into later.
The Layer-by-Layer Fabrication Process
So, how does Laminated Object Manufacturing actually build things? It’s pretty neat, actually. Think of it like making a really detailed sandwich, layer by layer.
Material Sheet Preparation and Application
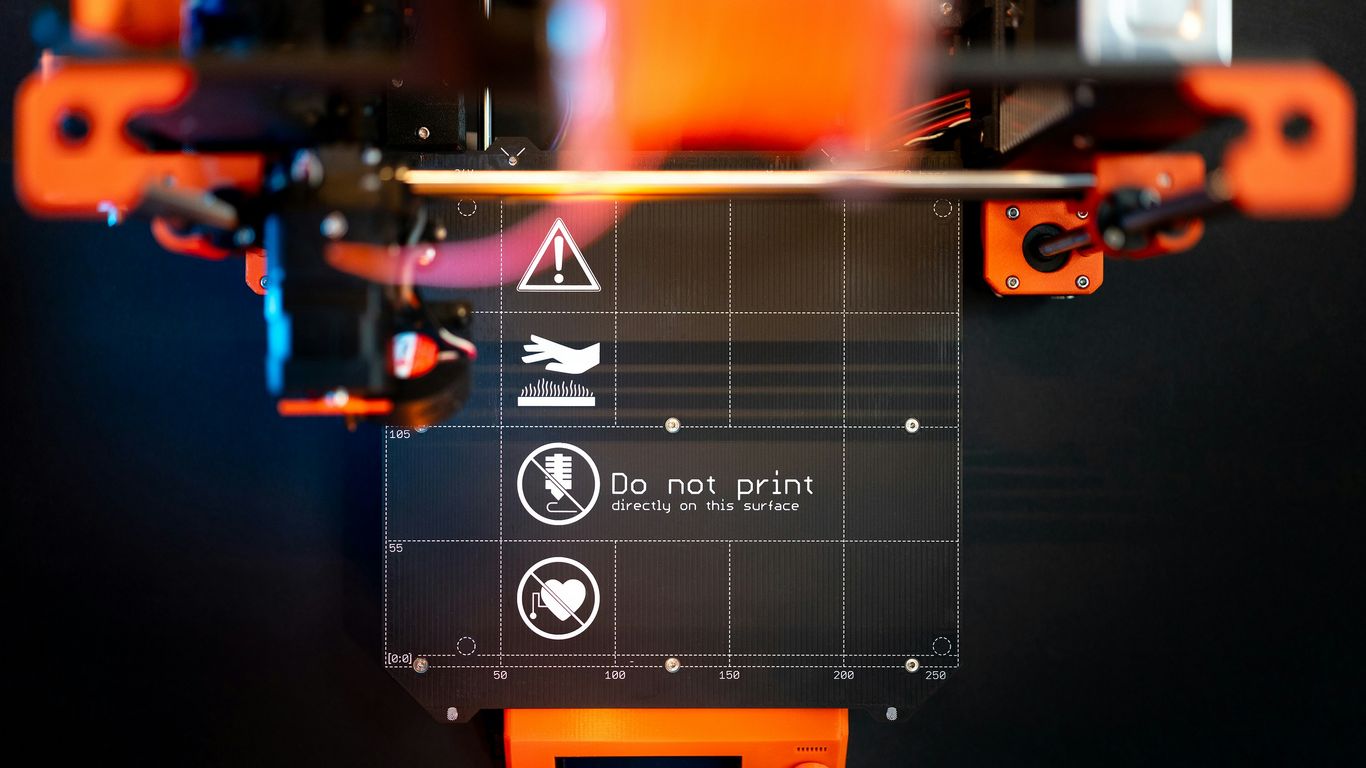
First off, you’ve got your sheet material – this could be paper, plastic, or even some composites. These sheets usually come pre-coated with an adhesive. The machine then lays down a fresh sheet onto the build platform, right on top of whatever was built before. It’s important that this new layer sticks well to the one underneath. Sometimes, a roller goes over it to make sure the bond is solid. This whole process is quite similar to how a regular printer handles paper, just on a much larger scale and with a specific goal in mind.
Bonding and Consolidation Techniques
Once a new sheet is in place, it needs to be bonded to the layer below. This is usually done with heat and pressure. A heated roller often passes over the sheet, activating the adhesive and pressing the layers together. This step is key to making sure the final part is strong and doesn’t just fall apart. The quality of this bonding directly impacts the structural integrity of the final object. Getting this right is a big part of what makes LOM work.
Selective Cutting for Layer Definition
After the sheet is bonded, the magic really happens. A cutting mechanism, either a laser or a sharp knife, comes into play. It precisely cuts along the outline of the object for that specific layer. Anything outside this outline is left as is, becoming part of the support material. This waste material is actually pretty useful because it holds the part in place as it’s being built, kind of like a built-in support structure. Once all the layers are cut and bonded, the final object is essentially carved out from this block of material. It’s a clever way to handle complex shapes without needing separate support structures, though it does mean you have to deal with the waste later. You can find out more about different additive manufacturing methods on this page.
Key Components of LOM Systems
So, you’ve got this LOM machine humming along, building your prototype layer by layer. But what exactly makes it tick? It’s not just magic, you know. There are a few main parts that work together to get the job done.
Material Feed and Roller Systems
First off, you need a way to get the material onto the build platform. This is where the material feed system comes in. Think of it like a giant roll of paper or plastic that the machine unrolls. It’s usually a pretty straightforward system, just feeding out the sheet material as needed. Then, right after the material is laid down, a heated roller comes into play. This roller is super important because it presses the new layer onto the one below it, making sure the adhesive bonds properly. It’s like ironing out any wrinkles and making sure everything sticks together nice and tight. Without a good bond, your prototype would just fall apart.
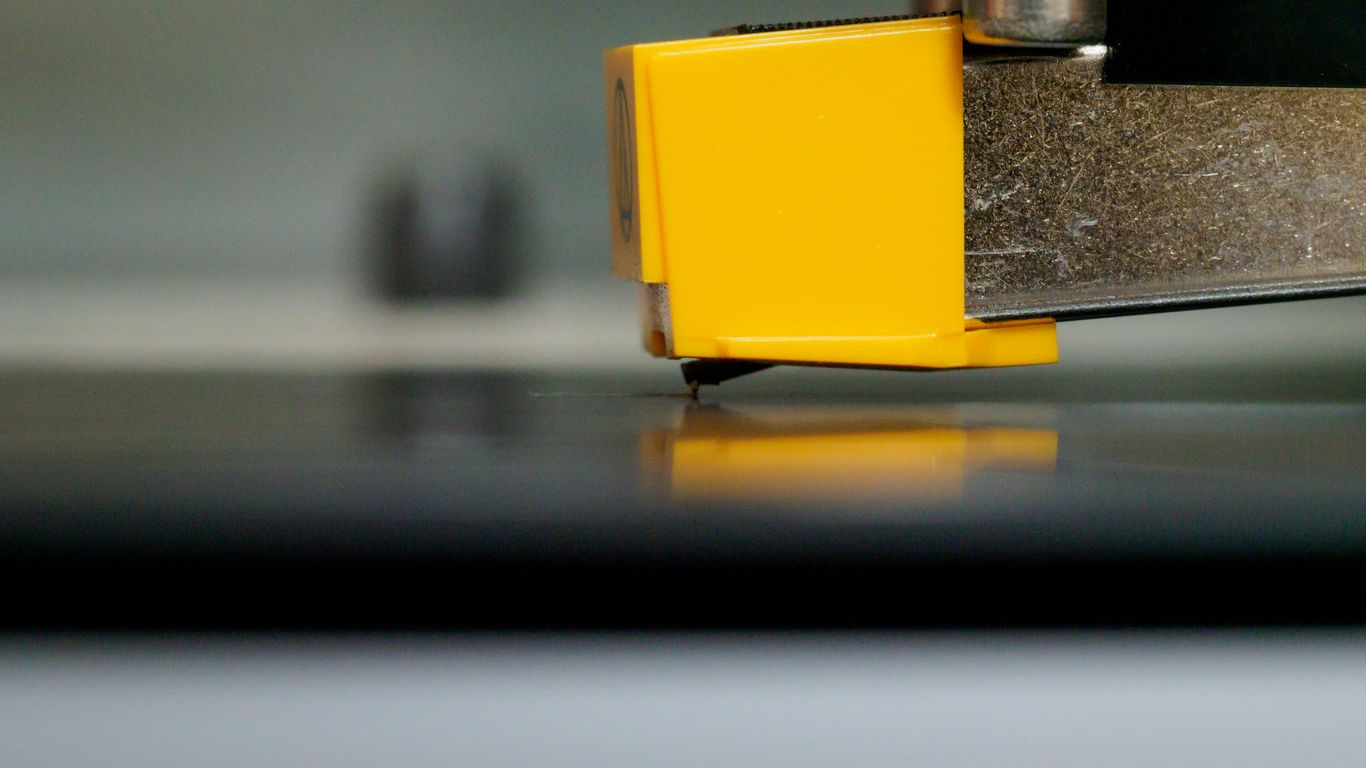
Cutting Mechanisms: Laser vs. Knife
Once the material is in place and bonded, the machine needs to cut out the shape of that specific layer. LOM systems typically use one of two methods for this: a laser or a mechanical knife.
- Laser Cutting: This uses a focused beam of light to precisely cut through the material. It’s great for intricate details and can handle a variety of sheet thicknesses. The laser essentially "draws" the outline of the layer.
- Knife Cutting: This involves a sharp blade, often a tungsten knife, that physically cuts the material. It’s a bit more robust and can be effective, especially with thicker materials like paper. The knife moves across the sheet to define the layer’s shape.
Both methods have their pros and cons, but the goal is the same: to define the 2D shape of the current layer while leaving the surrounding material intact to act as support.
Build Platform and Positioning
Finally, you have the build platform itself. This is the surface where your prototype actually gets built. It needs to be stable and accurate. The material sheets are laid down onto this platform, and it’s crucial that they are positioned just right for each layer. Think of it like stacking building blocks – if the first one is crooked, the whole tower will be off. LOM systems use precise positioning mechanisms to make sure each new layer aligns perfectly with the one before it. This accuracy is key to getting a good-looking, well-formed final part. The platform might move up or down, or the cutting head might move over it, depending on the specific machine design.
Materials Utilized in LOM
Laminated Object Manufacturing (LOM) is pretty neat because it can use a variety of sheet materials. This flexibility is a big part of why it’s good for making visual prototypes and models. You’re not really locked into just one thing, which is handy.
Paper and Composite Sheets
Paper is probably the most common material you’ll see in LOM. Think of the stuff you’d use in a regular office printer, but often it’s a bit thicker or specially treated. It’s cheap, readily available, and works well for creating detailed visual models. You can even get colored paper, which means you can build multi-colored parts right out of the machine without any extra painting. Beyond plain paper, there are also composite sheets. These might combine paper with other materials or use specialized paper formulations to give the final model better strength or a different surface finish. They’re a step up from basic paper if you need something a bit more robust.
Adhesive Coatings and Bonding Agents
Since LOM works by layering sheets and sticking them together, the adhesive is super important. Most LOM materials come with the adhesive already applied to one side of the sheet. This is usually a heat-activated adhesive. When the hot roller passes over the new layer, it melts the adhesive, bonding it to the layer below. The type of adhesive can vary, sometimes being a simple hot-melt glue, other times a more advanced cross-linking resin that cures when heated. Choosing the right bonding agent is key to making sure your layers stick together properly and the final part holds its shape.
Metal and Plastic Sheet Options
While paper is common, LOM isn’t limited to just that. You can also find systems that work with thin sheets of plastic or even metal, like aluminum. Using plastic sheets can give you models with different properties, maybe a bit more flexibility or a smoother surface. Metal sheets, though less common for typical LOM prototyping, can be used to create models that have a more metallic look and feel, or perhaps some basic structural properties. However, working with metal sheets often requires more powerful cutting mechanisms, like a laser, and can be more expensive than using paper.
Advantages of Laminated Object Manufacturing
Laminated Object Manufacturing (LOM) brings a few pretty neat benefits to the table, especially when you’re looking to get a physical model made without a huge fuss or a massive bill. It’s a process that’s been around for a while, and its strengths lie in its simplicity and cost-effectiveness.
Speed and Cost-Effectiveness
One of the biggest draws of LOM is how fast it can churn out prototypes. Because it works by layering and cutting sheets of material, it’s generally quicker than some other 3D printing methods that might involve more complex curing or melting processes. This speed, combined with the use of relatively inexpensive materials like paper or plastic sheets, makes LOM a very budget-friendly option for rapid prototyping. You can get a physical representation of your design quickly and without breaking the bank, which is a huge plus in the early stages of product development.
Material Versatility and Visual Models
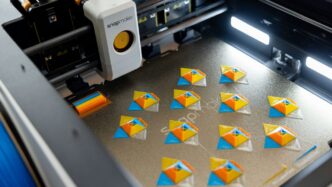
LOM isn’t limited to just one type of material. While paper is common and very affordable, the process can also work with plastics and even some composite sheets. This flexibility means you can choose a material that best suits the purpose of your prototype. For creating visual models that need to look good and give a clear sense of form and shape, LOM can produce surprisingly detailed and attractive results. You can even create multi-color models if you use different colored sheets, which is great for presentations or design reviews.
Integrated Support from Waste Material
A unique aspect of LOM is how it handles support structures. Instead of needing separate support material that you have to remove later, LOM uses the excess material from the cut sheets as a built-in support system. The part is essentially carved out of a block of this laminated waste material. This means:
- No need for complex support generation software.
- Reduced post-processing time spent removing supports.
- The waste material itself provides structural integrity during the build process.
While this can make extraction a bit tricky sometimes (which we’ll get to later), it’s a clever way to simplify the build process and avoid the hassle of separate support materials.
Limitations and Challenges in LOM
While Laminated Object Manufacturing (LOM) has its upsides, it’s not without its headaches. You’ve got to be aware of what it can’t do so you don’t end up with a half-finished project or a model that just falls apart.
Geometric Complexity and Undercuts
LOM really struggles with intricate shapes, especially anything that has overhangs or deep pockets. Because it builds layer by layer and uses the excess material as support, getting those tricky bits out can be a real pain. Trying to remove the finished part from the surrounding waste material can easily damage delicate features or even break the model itself. It’s like trying to pull a detailed sculpture out of a block of hardened clay without chipping it. This means LOM is best suited for simpler, more solid designs rather than complex, hollow, or highly detailed parts.
Model Strength and Wall Thickness
Models made with LOM, especially those using paper or plastic sheets, can be pretty fragile. The strength of the part really depends on how thick the walls are. If you’re aiming for anything less than about 5 to 10 millimeters for a wall thickness, you’re likely to end up with a model that’s weak and prone to breaking. This makes LOM less ideal for functional prototypes that need to withstand any kind of stress or load. You often end up with models that are great for looking at, but not so great for testing.
Waste Material Removal and Part Extraction
This is a big one. After the entire object is built and cut, you’re left with a block of material, and your actual part is embedded within it. Removing this excess material, often called ‘de-cubing’, can be a messy and time-consuming process. For parts with internal cavities or hollow sections, it can be nearly impossible to clear out all the waste material. This not only adds weight to the final part but can also make it difficult to inspect internal features. Sometimes, you have to manually cut away the waste, which requires a lot of care and can easily lead to cosmetic damage or structural compromise. It’s a bit like excavating an archaeological find – you need patience and a steady hand.
Industrial Applications and Use Cases
Laminated Object Manufacturing (LOM) has found its place in various industries, mostly where creating quick, tangible models is the main goal. It’s not usually the go-to for super-strong, functional parts, but for showing off designs or testing out shapes, it’s pretty handy.
Prototyping and Visual Models
This is where LOM really shines. Think about product designers or engineers who need to see and hold a physical representation of their idea early on. LOM can churn out these models relatively fast and without costing a fortune. Because it can handle different colored paper or plastic sheets, you can even create multi-color visual prototypes. This is great for marketing presentations or just getting a feel for how a product might look and feel before committing to expensive tooling.
- Rapid visualization: Quickly turn digital designs into physical objects.
- Marketing samples: Create eye-catching models for trade shows or client meetings.
- Ergonomic studies: Test out the physical dimensions and feel of a product.
Architectural and Design Applications
Architects and urban planners often use LOM to build scale models of buildings, neighborhoods, or even entire cities. It’s a fantastic way to get a sense of scale, form, and how different elements fit together. Imagine presenting a new building design to a client – a detailed LOM model can make the concept much clearer than just looking at blueprints. Interior designers can also use it to mock up room layouts or furniture arrangements.
Potential for Tooling and Fixtures
While LOM isn’t typically used for high-stress, end-use parts, it can be useful for creating temporary tooling, jigs, and fixtures. These are the kinds of aids used on a manufacturing floor to hold parts in place during assembly or machining. For low-volume production or specialized tasks, LOM can provide a cost-effective way to produce these support tools. The ability to create custom shapes quickly makes it ideal for one-off or low-volume tooling needs.
Wrapping Up LOM
So, that’s the lowdown on Laminated Object Manufacturing. It’s a pretty straightforward way to build things layer by layer using sheets of material, kind of like making a really fancy, 3D sandwich. While it might not be the go-to for super complex shapes or parts that need to be incredibly strong, LOM definitely has its place, especially for making quick, affordable prototypes and visual models. It’s a solid option when you need something fast and don’t want to break the bank. Just remember its limitations, like dealing with those tricky undercuts and hollow parts, and you’ll be good to go.