Thinking about building your own computer? It might seem like a big job, especially if it’s your first time. You might worry it’s too hard, too expensive, or just takes too long. But honestly, it doesn’t have to be that way. This guide will walk you through putting together a custom PC, piece by piece. We’ll start with figuring out what you actually need, look at all the different parts that go into a computer, and then go through the actual building process. Building your own custom pc is a great way to get exactly what you want.
Key Takeaways
- Figure out what you’ll use your custom pc for to pick the right parts.
- Balance what you want your pc to do with how much you can spend.
- Make sure all your chosen parts will work together before you buy them.
- Prepare your workspace and tools before you start putting the computer together.
- Take your time during the build and don’t force anything if it doesn’t seem to fit.
Understanding Your Custom PC Needs
Before you even think about picking out parts, you really need to figure out what you want this new computer to actually do. It sounds obvious, but it’s the most important step. Are you planning on playing the latest video games at super high settings? Or maybe you’re a student who just needs something reliable for writing papers and browsing the web? Perhaps you’re a creative type who needs a machine that can handle video editing or graphic design software. Knowing your primary use case will guide every single component choice you make.
Defining Your Usage Scenarios
Think about the main things you’ll be doing with your PC. Be honest with yourself here. If you only play games occasionally, you probably don’t need the absolute top-tier graphics card. Conversely, if you’re editing 4K video, a weak processor will just make you pull your hair out.
Here’s a quick breakdown of common scenarios:
- Gaming: Requires a powerful graphics card (GPU), a fast processor (CPU), and enough RAM for smooth gameplay. High refresh rate monitors are also a plus.
- Productivity/Office Work: Focuses on a reliable CPU, sufficient RAM for multitasking, and fast storage (SSD) for quick boot times and application loading. Graphics are usually less critical.
- Content Creation (Video Editing, Graphic Design, 3D Rendering): Needs a strong multi-core CPU, a good amount of RAM (32GB or more is often recommended), a capable GPU, and fast, large storage solutions.
- General Use/Web Browsing: Can get by with more budget-friendly components. A decent CPU, 8GB-16GB RAM, and an SSD will make it feel snappy.
Balancing Performance and Budget
This is where things get tricky. You want the best performance, but your wallet might have other ideas. It’s all about finding that sweet spot. You don’t want to overspend on a component that won’t make a noticeable difference for your specific needs, but you also don’t want to cheap out and end up with a system that’s frustratingly slow.
Consider this general cost breakdown:
| Build Type | Typical Cost Range | Primary Use Cases |
|---|---|---|
| Entry-Level | $300 – $600 | Web browsing, office tasks, light media consumption |
| Mid-Range | $700 – $1,200 | Moderate gaming, content creation, multitasking |
| High-End | $1,500 – $3,000+ | High-end gaming, professional content creation, VR |
Remember, these are just guidelines. You can often find great deals if you shop around, maybe even check out tech blogs for sales. The goal is to allocate your budget where it matters most for your usage.
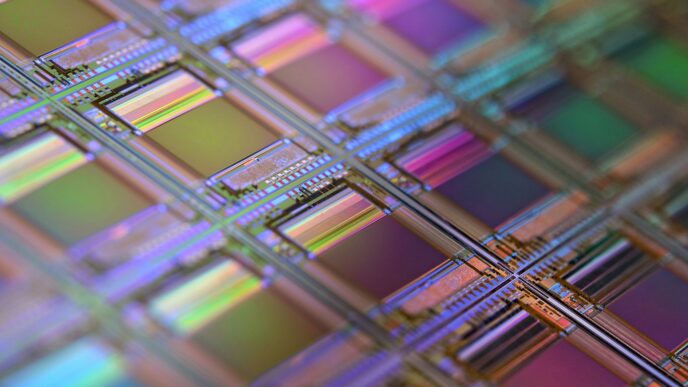
Essential Components for Your Custom PC
Alright, so you’ve got your build plan sorted and you’re ready to pick out the actual parts. This is where things get really interesting, but also a bit tricky if you’re not sure what you’re looking for. Picking the right components is like choosing the ingredients for a really good meal – get them wrong, and the whole thing can fall flat. Let’s break down the main players you’ll need to consider.
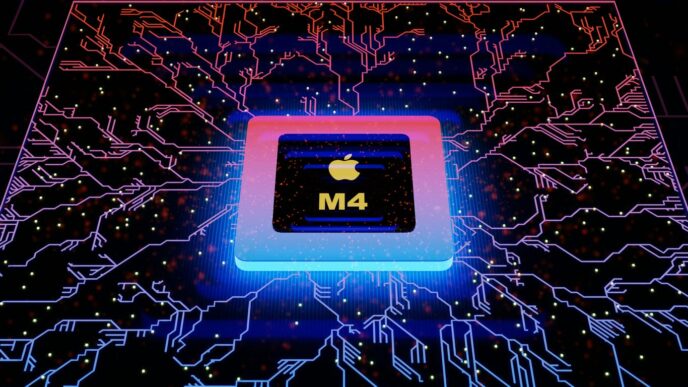
Central Processing Unit (CPU) Selection
Think of the CPU as the brain of your computer. It handles all the calculations and tells everything else what to do. When you’re looking at CPUs, you’ll see numbers like clock speed (measured in GHz) – higher generally means faster processing. But it’s not just about speed; the number of cores also matters, especially if you plan on doing a lot of multitasking or running demanding programs. For everyday stuff like browsing and office work, a mid-range CPU is usually fine. If you’re into gaming or video editing, you’ll want something more powerful. Don’t forget to check compatibility with your motherboard; they have to speak the same language.
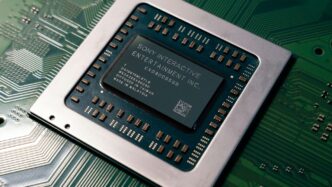
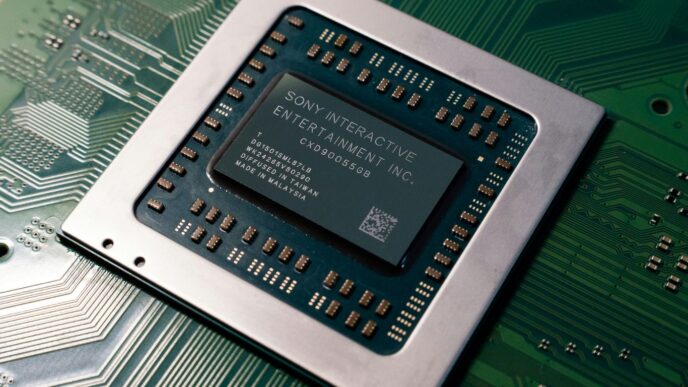
Graphics Processing Unit (GPU) Power
This is your graphics card, and it’s super important if you care about how games look or how smoothly video editing software runs. Most CPUs have some basic graphics built-in, which is okay for just getting your computer to display things. But if you want to play modern games at good settings or work with high-resolution video, you’ll definitely want a dedicated graphics card. These can get pretty pricey, so figure out what level of visual performance you actually need. A powerful GPU can make a huge difference in your experience, but it also uses more power and generates more heat, so keep that in mind.
Memory (RAM) and Storage Solutions
RAM, or Random Access Memory, is like your computer’s short-term memory. It’s where your computer keeps the data it’s actively working with. More RAM means your computer can handle more tasks at once without slowing down. For basic use, 8GB might be enough, but 16GB is a good sweet spot for most people, and 32GB or more is great for heavy multitasking or professional work. Then there’s storage: this is where your files, programs, and operating system live permanently. You’ve got two main types: Hard Disk Drives (HDDs) are cheaper and offer more space, but they’re slower. Solid State Drives (SSDs), especially NVMe SSDs, are much faster, making your computer boot up and load programs way quicker. Many people opt for a combination: a smaller, fast SSD for the operating system and frequently used programs, and a larger HDD for storing lots of files.
Motherboard and Power Supply Unit (PSU) Compatibility
The motherboard is the backbone of your PC, connecting all the components together. It dictates what kind of CPU you can use, how much and what type of RAM you can install, and what storage devices it supports. Always check the motherboard’s specifications to make sure your chosen CPU, RAM, and storage will work with it. The Power Supply Unit (PSU) is what gives electricity to everything. You need to calculate the total power your components will draw and pick a PSU that provides a bit more than that to be safe. Using a PSU that’s too weak can cause all sorts of problems, from instability to component damage. Most PSUs are ATX standard, which fits most common cases, but always double-check.
Preparing Your Workspace for the Build
Before you even think about touching those shiny new components, setting up your workspace is a big deal. Seriously, don’t just plop down at your kitchen table. You need a good amount of space to spread out, and honestly, you’ll probably be standing for a good chunk of the time, so make sure you’re comfortable. I usually put down an old towel or a mat to protect my case from scratches, because it’s going to be on its side a lot. Good lighting is also key; you don’t want to be fumbling around in the dark trying to plug in tiny cables. A flashlight can be a lifesaver for those shadowy corners inside the case.
Gathering Necessary Tools and Equipment
So, what do you actually need? It’s not a ton of stuff, but having the right tools makes everything go smoother. You’ll definitely want a Phillips head screwdriver, probably a couple of sizes. A magnetic tip is a nice bonus for catching dropped screws. Beyond that, zip ties or Velcro straps are great for keeping things tidy later on. Some people swear by an anti-static wrist strap, and if you live in a really dry climate or plan to build on carpet, it’s probably a good idea to use one. Otherwise, just try to avoid static-y situations. You’ll also want something to hold your screws, like a small bowl or a magnetic tray. And don’t forget your motherboard manual – it’s your best friend during this whole process.
Ensuring a Safe and Static-Free Environment
Static electricity is the silent killer of PC components. It’s invisible, but it can fry your parts in an instant. The best way to avoid this is to ground yourself. If you have an anti-static wrist strap, wear it and clip it to a metal part of your case. If you don’t have one, try to work on a hard floor like wood or tile instead of carpet. If you must work on carpet, don’t wear socks. Touching a metal object, like the unpainted metal part of your PC case, before you start and periodically throughout the build can also help discharge any static buildup. Just be mindful of where you’re touching and what you’re touching.
Organizing Components and Hardware
Once your workspace is prepped and you’ve got your tools ready, take everything out of its packaging. Lay out all your components neatly on your workspace. It helps to see everything at once so you know what you have and where it is. Keep the screws and accessories that come with each component organized, maybe in small piles or labeled containers. This way, when you need a specific screw for the motherboard or the SSD, you’re not digging through a giant bag of mixed hardware. It might seem like a small thing, but it saves a lot of frustration down the line. You can find some helpful tips on organizing your build over at Tom’s Hardware.
Step-by-Step Assembly of Your Custom PC
Alright, the moment of truth has arrived! We’re finally going to put all those carefully selected parts together. It might seem a bit intimidating, especially if this is your first time, but take it slow and steady. Following these steps will get your dream machine up and running. Remember, not every build is exactly the same, so don’t be surprised if you need to adjust the order slightly based on your specific components or case. That’s totally normal, even for folks who’ve been doing this for years.
Preparing the PC Case
First things first, let’s get the case ready. You’ll want to take off both side panels. Keep the screws somewhere safe; you’ll need them later to put it all back together. For the next few steps, we’ll be working with the components outside the case, which is usually easier. It’s a good idea to lay down a towel or a soft mat inside the case to avoid scratching it, since it’ll be sitting on its side for a while.
Installing the CPU and Cooler
This is a pretty delicate step. Carefully open the CPU socket lever on the motherboard. Line up the little triangle or notch on your CPU with the corresponding mark on the socket. Gently place the CPU in; it should just drop in without any force. Close the lever to secure it. Now, for the cooler. If you’re using the stock cooler that came with your CPU, it usually has pre-applied thermal paste. If you bought an aftermarket cooler, you’ll need to apply a small amount of thermal paste to the center of the CPU. Then, mount the cooler according to its instructions. Make sure it’s seated firmly. For liquid coolers, you’ll mount the radiator and fans in the case first, then attach the pump block to the CPU.
Mounting the Motherboard
Before you put the motherboard in, check if your case has pre-installed motherboard standoffs. These are little screws that keep the motherboard from touching the case directly. If they aren’t there, you’ll need to screw them in yourself. Also, don’t forget to install the I/O shield that came with your motherboard into the back of the case. It’s that metal plate with all the cutouts for your ports. Once that’s done, carefully place the motherboard into the case, lining up the screw holes with the standoffs. Start screwing it in, usually from the center outwards, but don’t overtighten. Just snug is fine.
Connecting Essential Components
Now for the wiring! This is where things can look a bit messy, but we’ll tackle it. First, connect the main power cables from the power supply to the motherboard: the big 24-pin connector and the 8-pin CPU power connector, usually found near the CPU socket. Then, install your RAM sticks into the correct slots on the motherboard (check your motherboard manual for the recommended slots, often alternating). If you have a graphics card, find the longest PCIe slot (usually the top one) and carefully push the card in until it clicks. Secure it to the case with screws. Finally, connect your storage drives (SSDs or HDDs) using SATA data cables to the motherboard and SATA power cables from the power supply. You’ll also connect case fans and front panel connectors (like the power button and USB ports) to the motherboard headers. It’s helpful to consult your motherboard manual for the exact locations of these small connectors. You can explore different 3D printing parameters if you’re designing custom parts for your build.
Finalizing Your Custom PC Build
Alright, you’ve got all the parts in, and everything’s connected. It’s time to tidy things up and get this machine ready to boot. This is where all that careful planning starts to pay off, making sure your new PC not only runs well but also looks good doing it.
Cable Management Techniques
This is where you make your build look clean. Messy cables aren’t just ugly; they can actually block airflow, making your components run hotter than they need to. Most cases have cutouts and tie-down points for this exact reason. Try to route cables behind the motherboard tray. Use zip ties or Velcro straps to keep bundles neat. It might take a bit of patience, but a tidy interior makes future upgrades way easier and keeps things cooler.
Installing Operating System and Drivers
With the hardware all set, the next big step is getting your software installed. You’ll need a USB drive with your chosen operating system, like Windows or Linux, ready to go. Plug it into a USB port, and then you’ll need to tell your PC to boot from that drive. This usually involves hitting a specific key (like DEL, F2, or F12) right when the computer starts up to get into the BIOS or UEFI settings. Once you’re in there, find the boot order settings and set your USB drive as the first option. After that, save your changes and restart. Your PC should now boot from the USB, starting the OS installation process. Follow the on-screen prompts to get your OS up and running. After the OS is installed, you’ll need to install drivers for your motherboard, graphics card, and other peripherals. These usually come on a disc or can be downloaded from the manufacturers’ websites. Getting these drivers installed is key for your hardware to work correctly and at its best. You can find a helpful guide on what to do if your operating system will not install on your SSD.
Initial Boot-Up and Troubleshooting
This is the moment of truth! Once the OS and drivers are installed, it’s time for the first boot. Cross your fingers and hit that power button. If everything went according to plan, you should see your operating system load up. If it doesn’t boot, don’t panic. It’s pretty common to run into a snag or two. First, double-check all your power connections – are they all seated firmly? Make sure the RAM sticks are fully clicked into their slots. Sometimes, a component might not be seated correctly, or a cable might have come loose during the process. If you’re still stuck, consult your motherboard manual or look up common troubleshooting steps online. Most issues can be resolved with a bit of patience and careful re-checking of your work.
Optimizing and Enhancing Your Custom PC
So, you’ve put together your dream machine, and it’s humming along nicely. But is it really running at its best? Probably not, not yet anyway. There are a few things you can do to really squeeze out more performance and make sure everything is running smoothly. It’s like tuning up a car after you’ve built it – you want it to perform perfectly.
BIOS Settings and Tweaks
The BIOS, or UEFI as it’s often called now, is the first thing your computer talks to when you turn it on. It’s like the gatekeeper for all your hardware. Most people just leave it on the default settings, which is fine, but you can actually tweak a few things in there to get a bit more out of your system. For example, you can set your RAM to run at its advertised speed, which is often faster than the default. You can also adjust fan curves to keep things cooler or quieter, depending on what you prefer. It’s not super complicated, but it’s good to know what each setting does before you change it. Just be careful not to mess with settings you don’t understand; you could make your PC unstable.
Performance Tuning and Overclocking
This is where things get a bit more advanced, but it can be really rewarding. Overclocking basically means pushing your CPU or GPU to run faster than their factory settings. It can give you a noticeable boost in games or demanding applications. However, it also generates more heat, so you need to have good cooling in place. You’ll also want to test your system thoroughly after overclocking to make sure it’s stable. A good starting point is to check out some guides specific to your CPU or GPU model. You can also use tools to monitor your system’s performance and temperatures. For instance, running a benchmark like UserBenchmark can help you see if your system is performing as expected and identify any potential issues download the UserBenchmark tool.
Adding Custom Cooling Solutions
If you’re pushing your components hard, especially with overclocking, the stock cooler might not cut it anymore. Upgrading your cooling can make a big difference. You’ve got a couple of main options: better air coolers or liquid (water) cooling. Air coolers are generally simpler and more reliable, using a big heatsink and fan to dissipate heat. Liquid coolers, on the other hand, use a pump and radiator system to move heat away from the CPU. They can be quieter and more effective, especially for high-end systems or serious overclocking, but they also cost more and require a bit more setup. Either way, keeping your components cool is key to maintaining performance and longevity.
Your Custom PC Awaits!
So, you’ve gone through the steps, picked out your parts, and maybe even wrestled with a few cables. Building your own PC might seem like a big task at first, but look at what you’ve accomplished! You’ve created a machine tailored just for you, whether it’s for crushing games, editing videos, or just getting work done. It’s a pretty cool feeling, right? Don’t worry if things weren’t perfectly smooth; even experienced builders run into little snags. The important thing is you learned, you built, and now you have a custom rig that’s ready to go. Enjoy the power and satisfaction of using a computer you put together yourself!
Frequently Asked Questions
How long does it typically take to build a PC?
Building a PC usually takes about 3 to 4 hours for someone new to it. If you’ve done it before, it might only take 1 to 2 hours. This includes getting your stuff ready, putting it all together, and following the steps. You might need extra time if you have to fix any problems or install the computer’s main software.
What are the main parts needed to build a PC?
You’ll need a computer case, a motherboard, a CPU (the computer’s brain), a GPU (for graphics), RAM (memory), storage (like an SSD), and a power supply. You’ll also need a monitor, keyboard, and mouse to use it. Make sure all the parts work together!
How much money should I expect to spend on building a PC?
It really depends on what you want to do! For basic things like browsing the web or schoolwork, you might spend $300 to $600. For gaming or more demanding tasks, it could be $700 to $1,200. If you want a super powerful PC for professional work or high-end gaming, expect to spend $1,500 or more.
Is it cheaper to build a PC than to buy a pre-built one?
Yes, building your own PC can often be cheaper than buying one that’s already put together. You get to pick exactly what parts you want and can look for the best deals. Plus, you can choose better quality parts for your money, instead of settling for whatever comes in a pre-built computer.
What’s the best way to set up my workspace for building a PC?
It’s best to work in a well-lit area with plenty of space. Lay down a towel or soft mat to protect the computer case. Be careful of static electricity, which can damage parts. It’s a good idea to wear an anti-static wrist strap and avoid building on carpet if possible.
What’s the most important thing to consider when choosing parts for my PC?
The most important thing is to make sure all your chosen parts are compatible with each other. For example, the CPU needs to fit the motherboard socket, and the motherboard needs to fit inside your computer case. Checking compatibility charts or using online PC builder tools can help avoid problems.