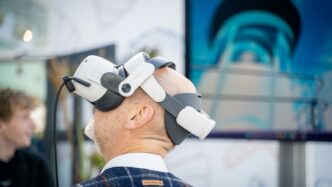

So, you’re thinking about jumping into virtual reality, huh? It’s pretty exciting stuff, seeing all those amazing worlds you can explore. But before you get too carried away, there’s a bit of homework to do. Your computer needs to be up to snuff, or you’ll end up with a choppy, headache-inducing mess instead of an awesome adventure. This guide breaks down what you actually need, from the guts of your PC to the space around you, so you can get the best virtual reality experience without any nasty surprises. Let’s figure out the requirements for VR.
Key Takeaways
- Your computer’s graphics card (GPU) is the most important part for VR, followed closely by the processor (CPU). Don’t skimp here if you want smooth visuals.
- Keeping your game running at the same speed (frames per second) as your headset’s refresh rate (Hertz) is key to avoiding motion sickness.
- You need enough clear physical space to move around safely, whether you’re just standing or walking around a larger area.
- Make sure your computer has the right ports, especially DisplayPort or a specific version of HDMI, and enough USB ports for your headset and controllers.
- Before buying, always check the official system requirements for the headset you want and compare them to your computer’s specs, maybe even run a benchmark.
Understanding VR System Requirements
So, you’re thinking about jumping into virtual reality? That’s awesome! But before you get too excited about exploring digital worlds, we need to talk about what your computer needs to actually run the VR stuff. It’s not like your regular PC games; VR is way more demanding. Think of it like this: your computer has to create two separate, high-quality images at the same time, one for each eye, and do it super fast. If it can’t keep up, you’re going to have a bad time – think blurry visuals, jerky movements, and maybe even feeling a bit sick. Getting these requirements right is the first step to actually enjoying VR.
The Crucial Role of the Graphics Processing Unit
If there’s one component that matters most for VR, it’s the graphics card, or GPU. This is what does all the heavy lifting for visuals. Integrated graphics, the kind built into many basic computers, just won’t cut it. You need a dedicated graphics card that’s got some serious power. The better your GPU, the more detailed and smooth your virtual world will look. Trying to run VR on a weak GPU is like trying to watch a movie on a potato – it’s just not going to be pretty.
Central Processing Unit: The Command Center
Next up is the CPU, or processor. This is like the brain of your computer. It handles all the game logic, physics, and tells everything else what to do. For VR, you really want a CPU with multiple cores. A basic quad-core processor might get you by for simpler VR experiences, but if you want to play more complex games or run multiple things at once without slowdown, a six-core or even eight-core processor is a much better bet. It helps keep everything running smoothly without the other parts waiting around.
Memory and Storage Essentials
Finally, let’s talk about RAM (memory) and storage. RAM is where your computer temporarily stores data it’s actively using. For VR, 8GB of RAM is often listed as the bare minimum, but honestly, 16GB is what you should aim for to have a comfortable experience. It helps prevent those annoying stutters when the game needs to grab new information. As for storage, forget about old-school hard drives (HDDs) if you can. A Solid-State Drive (SSD) is pretty much a must-have for VR. Games load way faster, and textures appear much quicker as you move around, which really helps keep you immersed. Nobody likes waiting ages for a game to load or seeing the world pop into view bit by bit.
Achieving Immersive Visuals: Frame Rate and Refresh Rate
So, you’ve got your VR headset, and you’re ready to jump into some amazing virtual worlds. But wait, what’s this about frame rates and refresh rates? It sounds technical, but it’s actually pretty important for not feeling like you’re going to get sick.
Synchronizing Frame Rate and Refresh Rate
Think of it like this: your VR headset has a screen that updates a certain number of times per second. That’s the refresh rate, measured in Hertz (Hz). Your computer’s graphics card, on the other hand, has to create all the images, or frames, that get sent to the headset. That’s the frame rate, measured in frames per second (FPS). For things to look smooth and feel right, these two numbers need to be in sync. The goal is to have your PC consistently produce frames at the same speed your headset can display them. If your PC can’t keep up, you’ll notice stuttering or lag, which is a fast track to motion sickness.
It’s better to have a stable 72 FPS experience than a stuttering 90 FPS one. You want a rate that your hardware can reliably maintain. For a great experience, aiming for 90 FPS is common, but some headsets can go higher, up to 120Hz or even 180Hz. Check what your headset supports and what your PC can handle.
The Impact of Reprojection Technologies
What happens when your PC just can’t hit that target frame rate? That’s where technologies like
Defining Your Virtual Playground: Spatial Requirements
Okay, so you’ve got the PC power sorted, but what about the real world? VR isn’t just about what’s on screen; it’s about how you move in your own space. Thinking about the physical area you’ll be using is super important for both safety and how much fun you’ll have. It’s not just about fitting the headset on; it’s about fitting the experience into your life.
Seated and Stationary Play Area Needs
Some VR games are designed for you to sit down or stand in one spot. Think flight simulators or puzzle games where you don’t need to move around much. For these, you don’t need a ton of space. You just need enough room to comfortably extend your arms in all directions and turn your body without bumping into anything. It’s about having a little bubble of personal space. Even a small corner of a room can work for this kind of VR.
Room-Scale VR Space Considerations
Now, if you’re looking to really get into the action, like dodging virtual bullets or exploring vast landscapes, you’ll want to consider "room-scale" VR. This means you’ll be physically walking around in your play area, and the game will track your movements. The more space you have, the more immersed you’ll feel. For a good room-scale experience, many recommend at least 6.5 feet by 5 feet of clear floor space. This gives you enough room to move without constantly worrying about hitting walls or furniture. Bigger is definitely better here if you can manage it.
Clearing Your Physical Environment
This is where the practical part comes in. Before you even put on the headset, you need to make sure your chosen play area is safe. This means:
- Remove Obstacles: Get rid of anything you could trip over, like rugs, cables, or stray shoes. Seriously, tripping over your own feet is one thing, but tripping over a coffee table in VR is a whole other level of bad.
- Identify Boundaries: Be aware of walls, furniture, and pets. Most VR systems have a way to set up virtual boundaries that appear in the headset when you get close to the edge of your play space. Use them!
- Consider Ceiling Height: If you plan on jumping or reaching up, make sure you have enough clearance above you. Nobody wants to punch a light fixture.
Getting this right means you can focus on the virtual world, not on potential real-world hazards. It makes the whole experience much more enjoyable and less stressful.
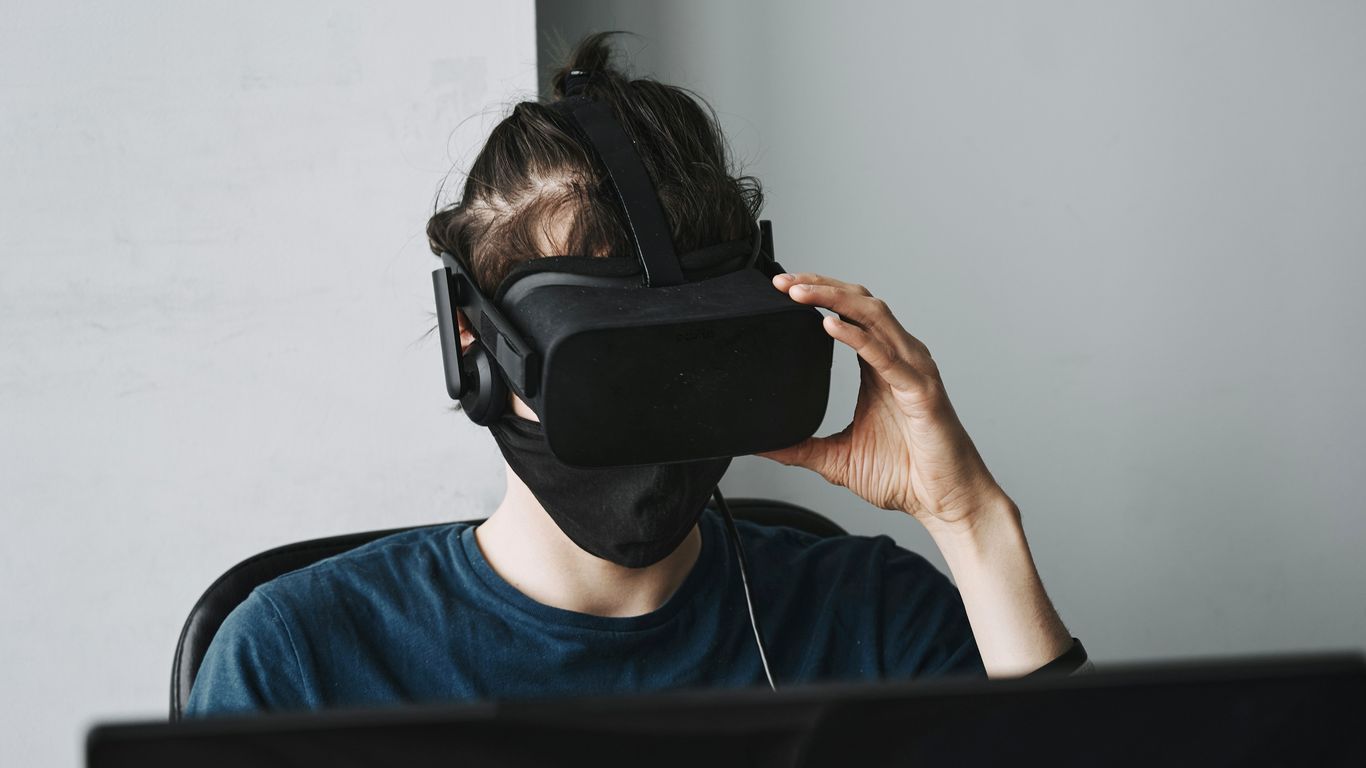
Connectivity: Ports and Cables for VR
So, you’ve got a beast of a PC or a powerful laptop ready to go, but how do you actually connect that fancy VR headset? This is where things can get a little technical, and honestly, a bit frustrating if you’re not prepared. It’s not just about plugging in any old cable; the type of ports and cables you use really matters for getting that smooth, immersive experience.
The Importance of DisplayPort Connections
For PC-based VR, DisplayPort is often the go-to connection. Think of it as the highway for all that visual data your graphics card is churning out. Most VR headsets that need a PC connection will ask for a DisplayPort 1.2 or a newer version. This port is built to handle the high bandwidth needed to push those high-resolution images to your eyes at a fast rate. You’ll want to make sure your graphics card has a DisplayPort output. It’s usually clearly marked on the back of your computer. If you’re using a laptop, this is especially important to check, as not all laptops have this specific port.
Understanding HDMI Requirements
While DisplayPort is common, some headsets might use HDMI. If yours does, pay close attention to the specific HDMI version it requires. An older HDMI 1.4 port just won’t cut it for most modern VR. You’ll likely need HDMI 2.0 or higher to get the necessary speed. It’s a good idea to check your headset’s manual and then look at your PC’s graphics card specs to confirm compatibility. Sometimes, you might need an adapter, but it’s always best to have the right ports directly if you can. Using the wrong HDMI version can lead to choppy visuals or even prevent the headset from working at all.
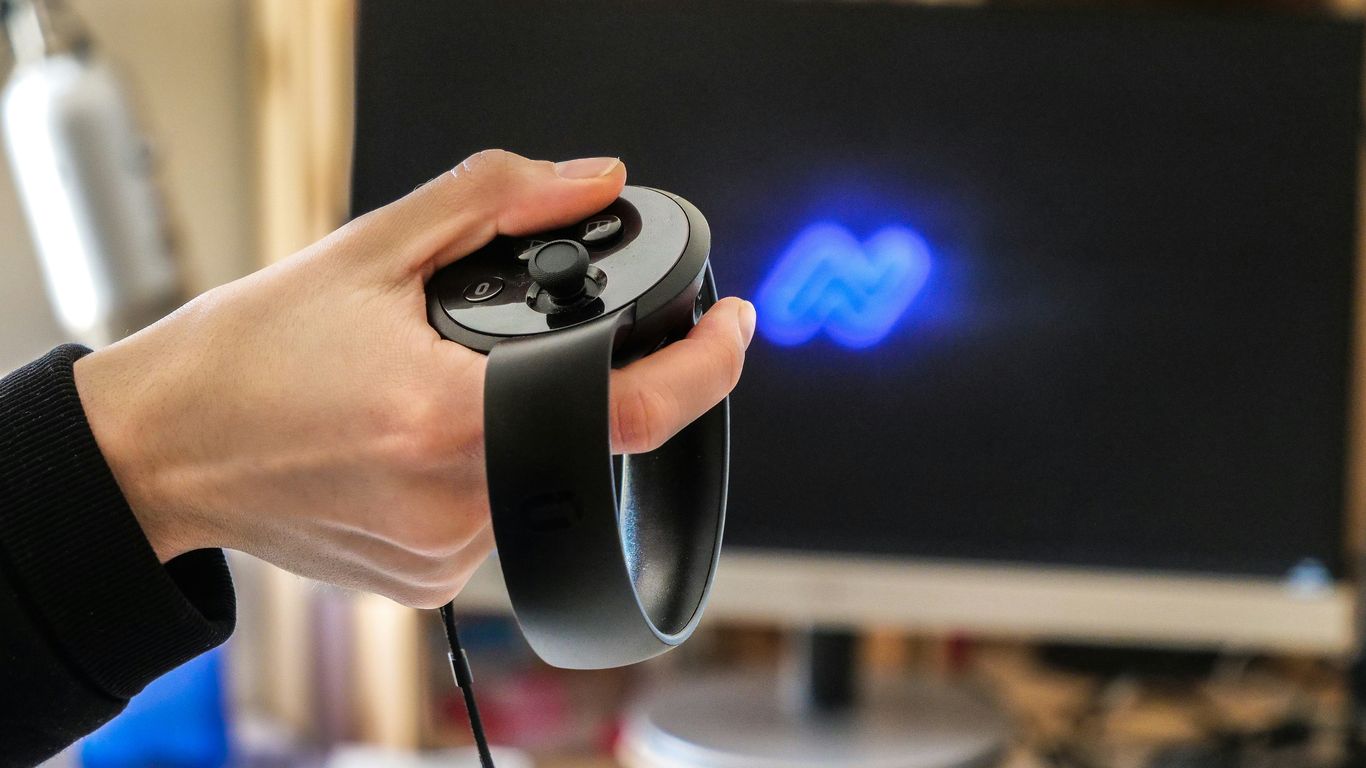
Essential USB Port Specifications
Beyond the video connection, your headset also needs a USB port. This isn’t just for a little bit of data; it’s used for tracking your movements, sending controller inputs, and sometimes even providing power. Most VR headsets will specify needing a USB 3.0 port or higher. These ports offer much faster data transfer speeds than older USB 2.0 ports. While some accessories might work with USB 2.0, the main headset connection usually benefits greatly from the speed of USB 3.0. Using the correct USB port is vital for reliable tracking and a lag-free experience. If your PC is a bit older and doesn’t have enough USB 3.0 ports, you might need to consider adding a USB expansion card or using a powered USB hub. For PCVR hardware preparation, using a USB 2.0 port and cable is sometimes recommended for specific setups, avoiding USB 3.0 (blue ports), and an external Bluetooth dongle is recommended for optimal connectivity [d27a].
Here’s a quick rundown of what to look for:
- DisplayPort: Usually required for video output. Check for version 1.2 or newer.
- HDMI: Some headsets use this. Verify the required version (e.g., 2.0+).
- USB: Look for USB 3.0 Gen 1 (5 Gbps) or higher for the main headset connection. USB 2.0 might be sufficient for controllers or specific accessories.
- Cables: Use the cables that came with your headset. They are designed to meet the specific bandwidth and quality needs.
The Standalone VR Alternative
So, you’re thinking about diving into virtual reality, but the idea of needing a super-powered PC feels a bit much? Good news! There’s a whole other way to experience VR, and it’s called standalone VR. These headsets are like magic boxes – they have everything they need built right in. No need for a separate computer, no tangled wires connecting you to a desktop, just pure, untethered immersion. It’s a different set of rules, and honestly, it makes VR way more accessible for a lot of people.
Benefits of All-in-One VR Devices
What’s so great about these all-in-one gadgets? For starters, the setup is a breeze. You literally just put it on and turn it on. This means you can jump into a virtual world much faster than with a PC-tethered setup. Plus, since there’s no PC involved, you don’t have to worry about whether your graphics card is up to snuff or if your processor can handle the load. It’s a self-contained unit that handles all the heavy lifting. This makes them fantastic for:
- Portability: Take your VR experience anywhere – a friend’s house, a park, or just another room in your home.
- Simplicity: No complex installations or driver updates needed. Just power up and play.
- Cost-Effectiveness: While high-end PC VR can get pricey with the headset and the computer, standalone options often present a lower entry point.
Standalone VR Content Ecosystems
Now, you might be wondering what you can actually do with a standalone headset. The content library for these devices has really exploded. You’ll find a huge variety of games, from action-packed adventures to puzzle-solving challenges. Beyond gaming, there are also apps for fitness, social experiences, educational content, and even creative tools. It’s a growing ecosystem, and developers are constantly creating new and exciting things specifically for these untethered devices. You can explore a vast library of experiences right from the headset itself, often through dedicated app stores. Many of these devices connect to the internet, allowing you to download new content and updates directly.
PC Connectivity Options for Standalone Headsets
Here’s where things get really interesting. While standalone headsets are designed to work on their own, many of them also offer the option to connect to a PC. This is a brilliant hybrid approach. You get the freedom and simplicity of standalone VR for everyday use, but you can also tap into the power of your gaming PC for more demanding applications or games that aren’t optimized for standalone hardware. This connection is usually made via a USB-C cable, turning your standalone headset into a PC VR headset on demand. It’s a great way to future-proof your investment and get the best of both worlds. You can find some great options for these connection cables on VR accessory sites.
Preparing for Your VR Journey: A Practical Checklist
So, you’re ready to jump into virtual reality? That’s awesome! But before you start dreaming of digital worlds, let’s make sure your setup is actually going to work. It’s kind of like packing for a trip – you wouldn’t leave without checking if you have your passport, right? Doing a quick check now saves a lot of headaches later.
Identifying Your Target Headset
First things first, what headset are you even looking at? Different headsets have different needs. Some are super demanding, needing a beast of a PC, while others are more chill. You’ll want to figure out which one catches your eye and then look up its specific requirements. Don’t just guess; go to the manufacturer’s website. They’ll have the official lowdown.
Verifying Official System Specifications
This is where you get down to the nitty-gritty. Once you know your headset, find its minimum and recommended PC specs. These lists will tell you what kind of graphics card (GPU), processor (CPU), and how much RAM you need. Think of it like a recipe – you need all the right ingredients in the right amounts for the dish to turn out well. For VR, not having enough of something means choppy visuals and maybe even feeling a bit queasy.
Here’s a quick look at what you’ll typically see:
- GPU: This is the big one. Look for dedicated graphics cards, not the basic ones built into your motherboard. Something like an NVIDIA GeForce RTX 3060 or AMD Radeon RX 6700 XT is a good starting point for many headsets.
- CPU: You’ll need a decent processor. A modern quad-core CPU is usually the minimum, but a six-core or even eight-core processor will give you more breathing room.
- RAM: 16GB of RAM is pretty much the standard now for a smooth VR experience. 8GB might technically work for some very basic setups, but you’ll likely run into issues.
- Storage: Make sure you have enough space, and ideally, install VR games on a Solid State Drive (SSD). Loading times are way faster on an SSD, which really helps keep you immersed.
Benchmarking Your Current Hardware
Got a PC already? Great! Now, let’s see how it stacks up. You can use free tools like UserBenchmark or 3DMark to test your current components. These programs will give you scores for your CPU, GPU, and other parts. You can then compare these scores to the recommended specs for your chosen VR headset. It’s a good way to see if you’re meeting the minimum or if you’re falling short. If you’re close, maybe a small upgrade will do the trick. If you’re way off, you might need to think about a new PC or a different headset.
Confirming Physical Port Availability
This is a sneaky one that trips people up. VR headsets need specific connections to your computer. Most require a DisplayPort connection for video output, and a few USB 3.0 or higher ports for data and power. Some newer headsets might use USB-C, but you have to make sure that USB-C port actually supports video output (often called DisplayPort Alternate Mode). Check the back or sides of your computer. Do you see a DisplayPort? How many USB 3.0 ports do you have free? If you’re missing a key port, you might need an adapter or a different computer. It’s always best to check this before you buy anything.
Stepping Into New Realities
So, we’ve gone over what your computer needs to handle virtual reality. It’s not just about picking up the coolest headset; you’ve got to make sure your rig can actually run it without making you feel sick. Getting the right graphics card, enough memory, and a decent processor makes all the difference between a great time and a frustrating mess. Think of it like getting your car ready for a long road trip – you wouldn’t just hop in without checking the tires and oil, right? VR is similar. By paying attention to these specs, you’re setting yourself up for amazing adventures in digital worlds. The tech is only getting better, so now is a great time to get ready to explore.
Frequently Asked Questions
What’s the most important part of my computer for VR?
The graphics card, or GPU, is super important! It’s like the artist of your computer, drawing all the amazing visuals you see in VR. A powerful GPU means smoother, prettier worlds without lag.
Do I need a lot of space to play VR games?
It depends! For games where you just sit or stand in one spot, you don’t need much room. But for ‘room-scale’ VR, where you can walk around, you’ll need a clear space, at least about 6.5 feet by 5 feet, so you don’t bump into things.
Why is frame rate so important in VR?
Imagine watching a flipbook where some pages are missing – it’s jerky and weird. Frame rate is how many images your computer can show you each second. In VR, you need a high, steady frame rate (like 90 images per second) to make the virtual world feel real and avoid feeling sick.
Can my laptop handle VR?
Maybe! Some laptops can, especially gaming ones with good graphics cards. But not all laptops are built for VR. You need to check if your laptop has the right kind of powerful graphics card and ports. It’s best to look up the specific requirements for the VR headset you want.
What are standalone VR headsets?
These are VR headsets that work all by themselves – no computer needed! They have everything built-in. They’re super convenient and easy to use, but they might not be able to show you the most detailed or complex virtual worlds like a powerful PC can.
What kind of connections do I need for VR?
VR headsets usually need special connections to your computer. The most common is DisplayPort, which sends a lot of information quickly. You’ll also need a good USB port. Always check what your VR headset needs before buying!